Gardening In March

Gardening In March

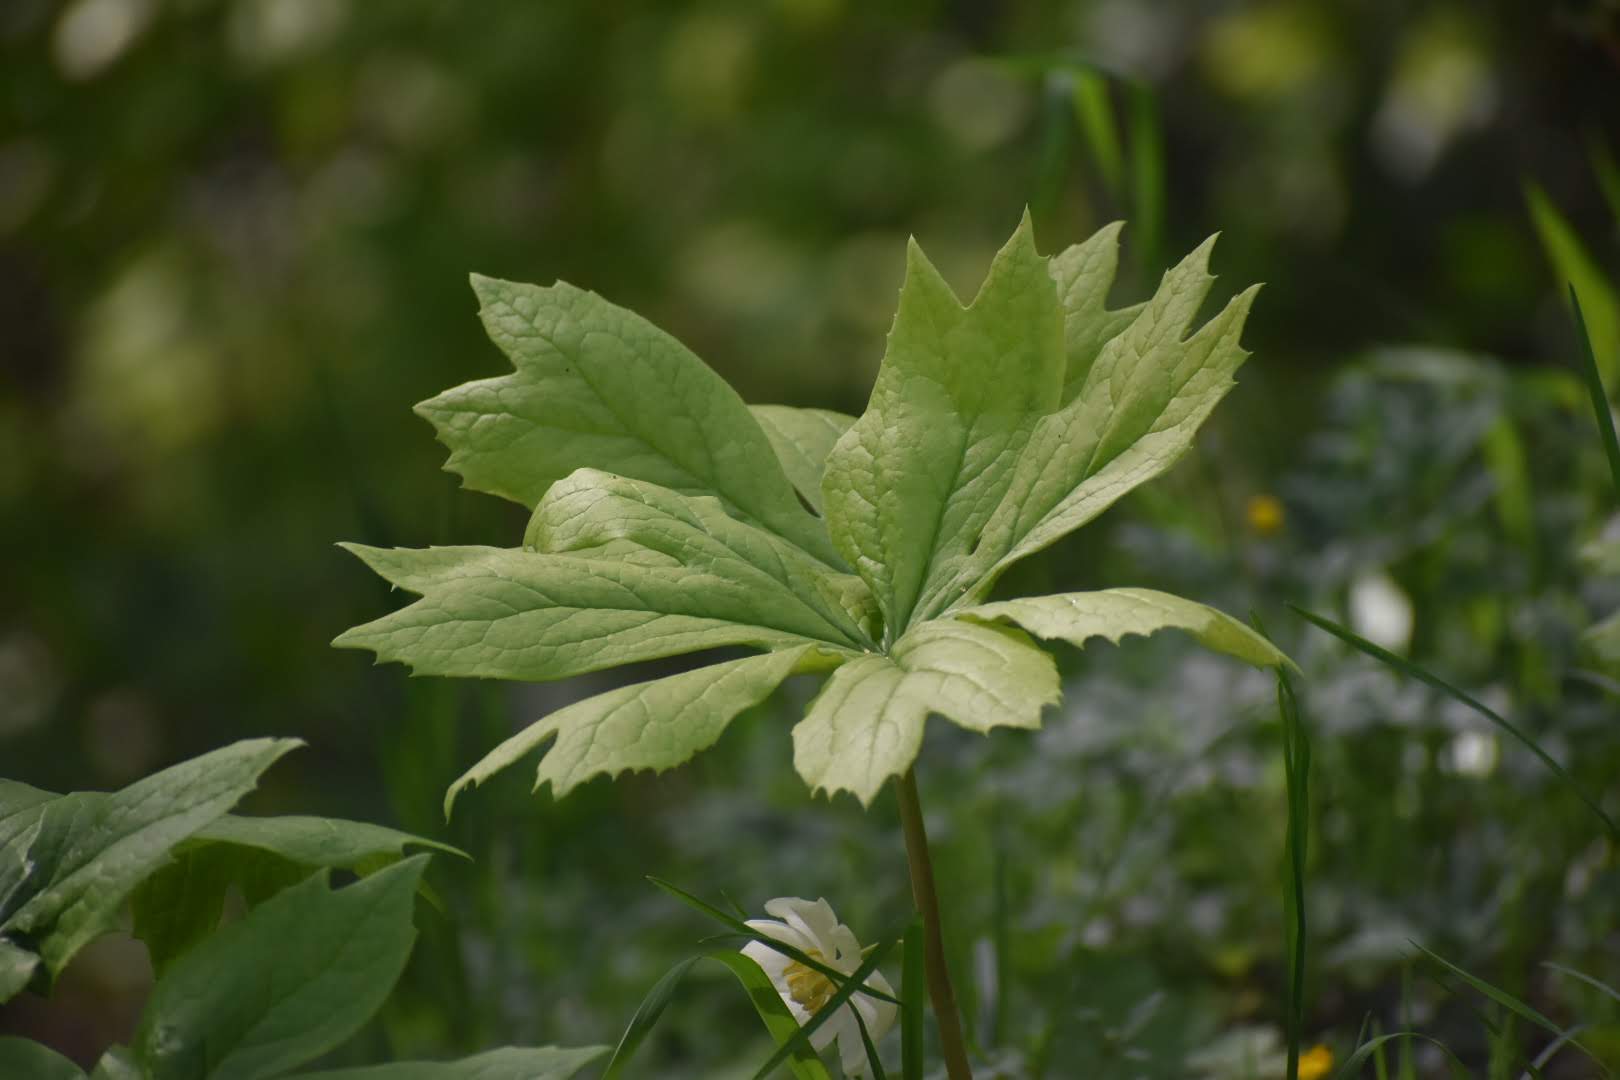
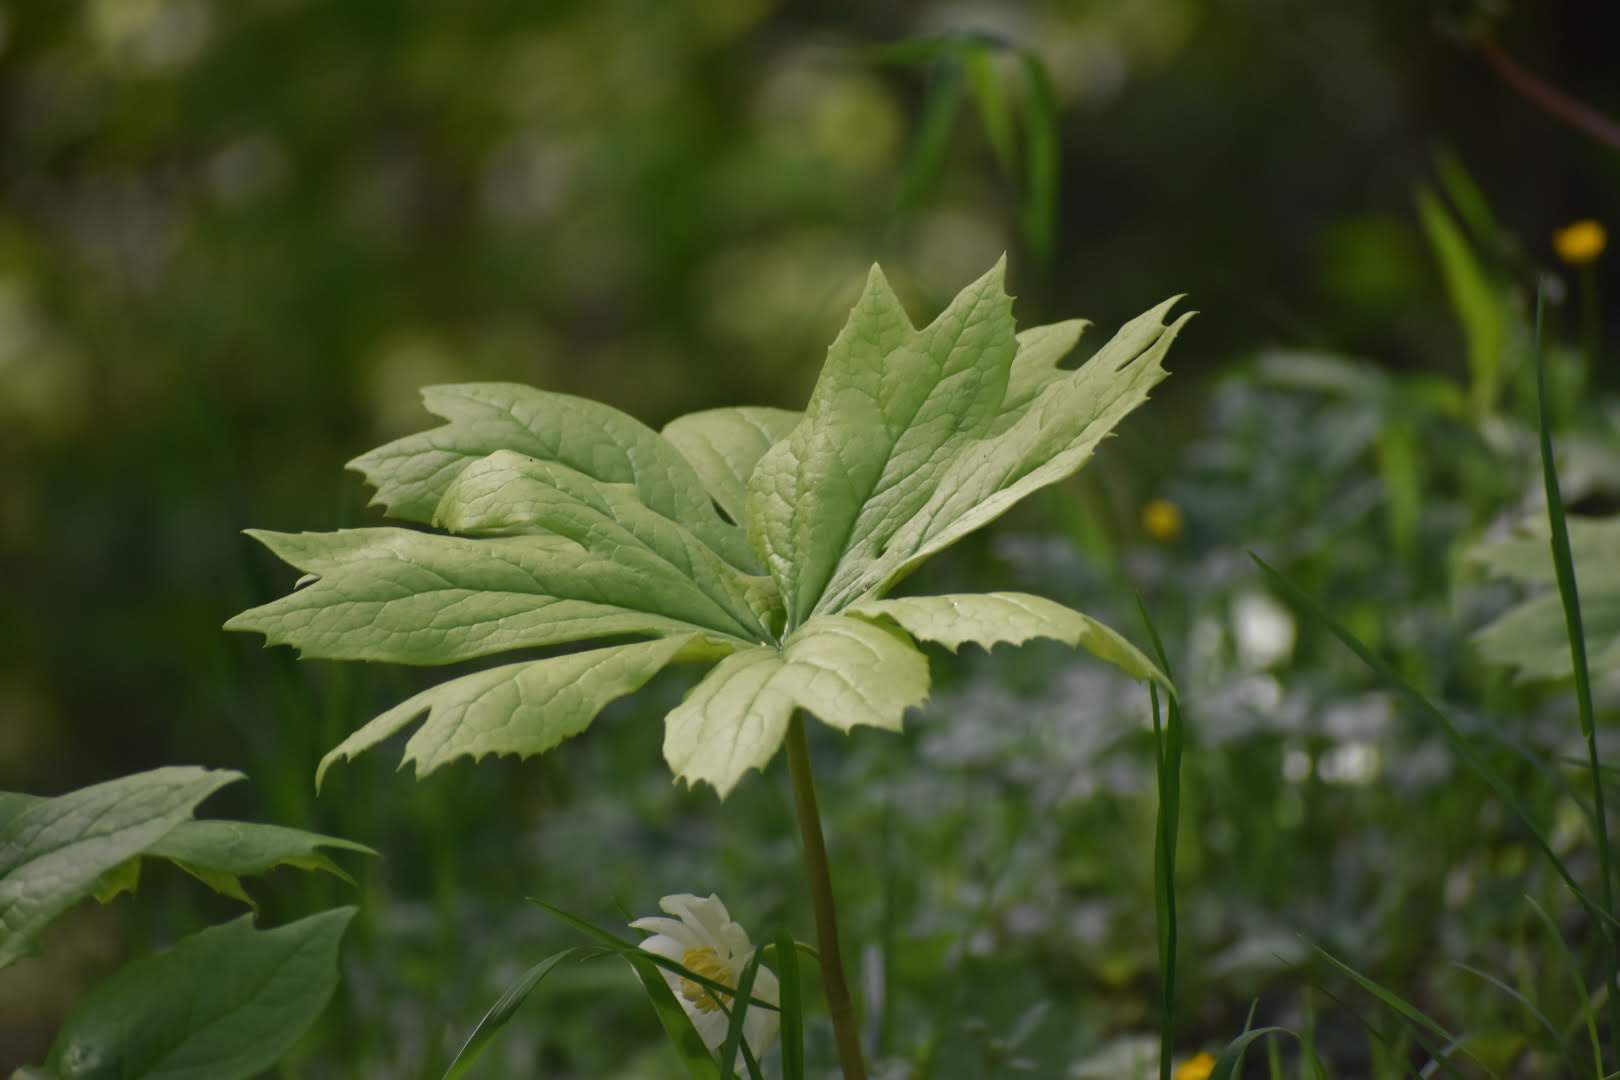
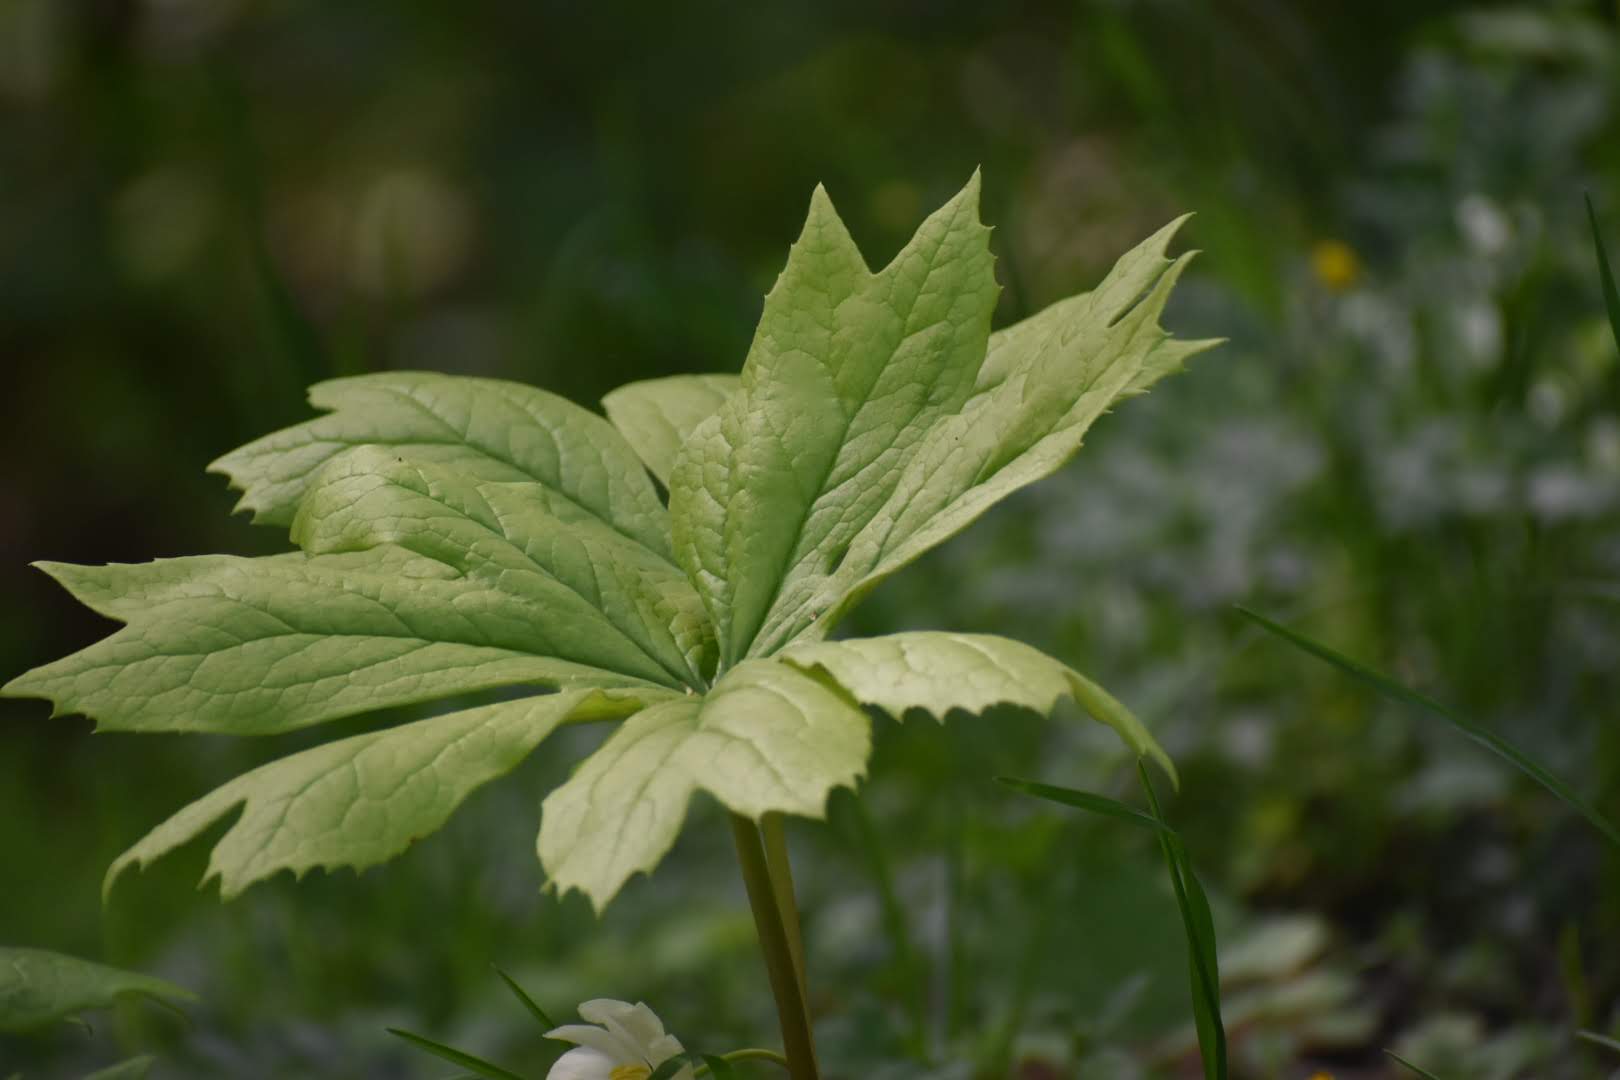
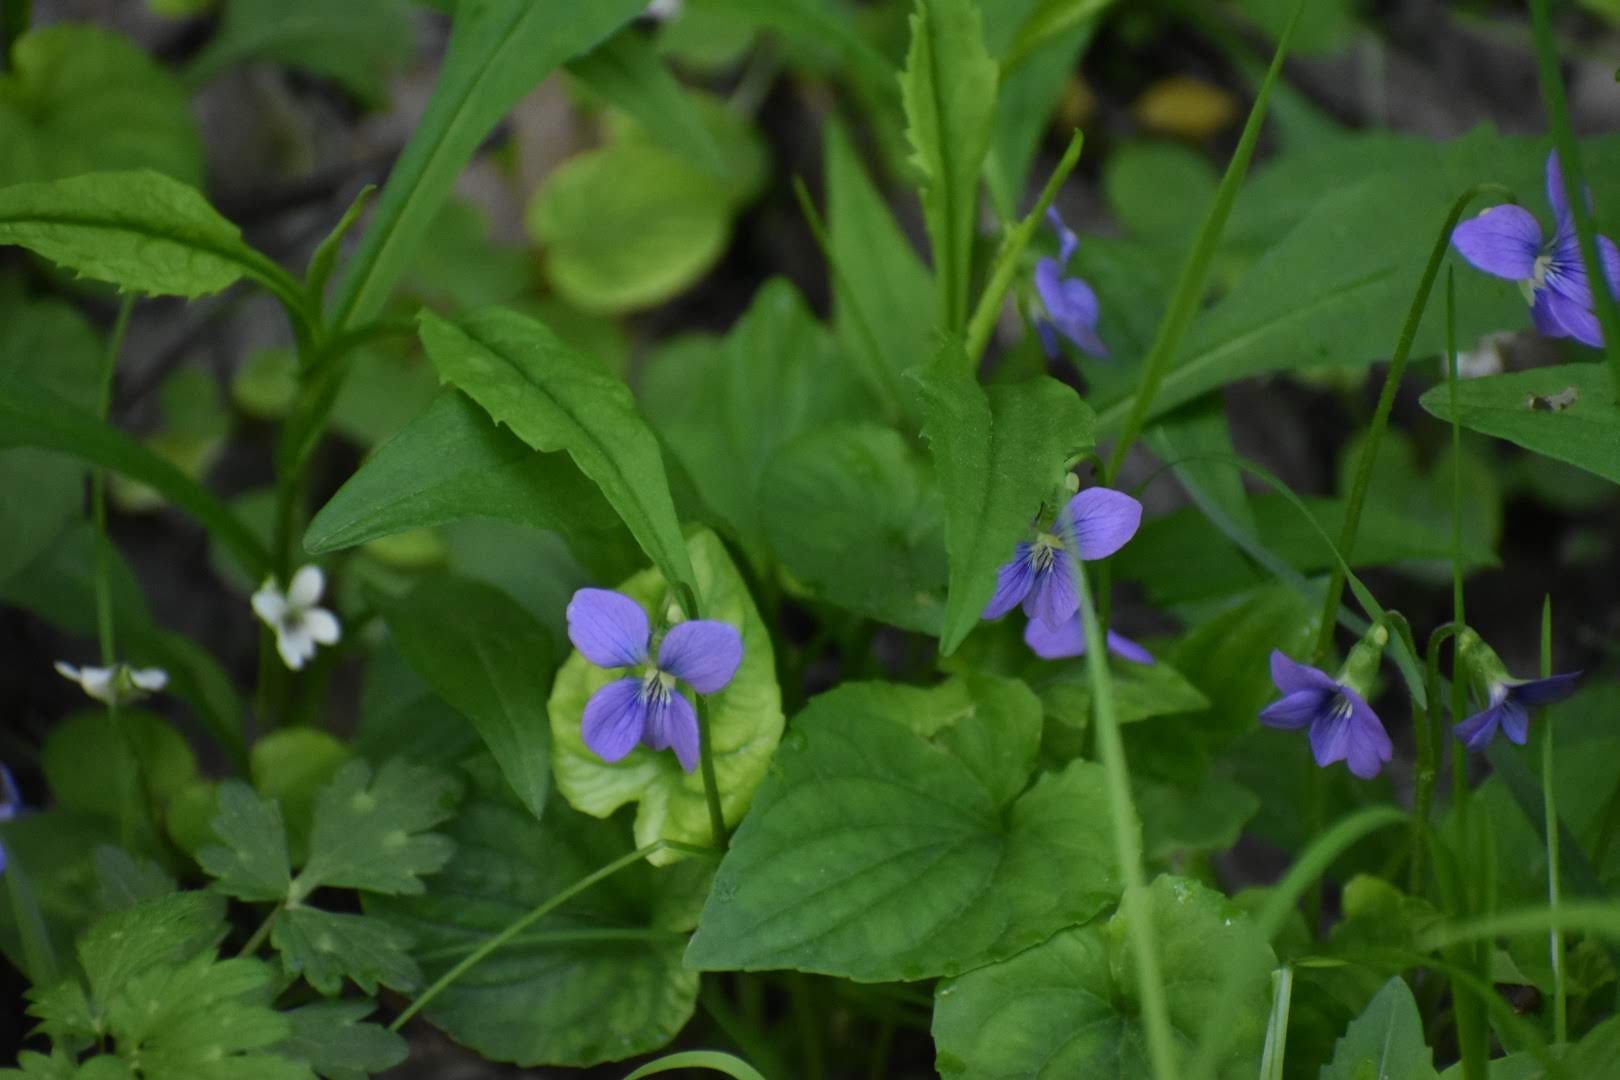
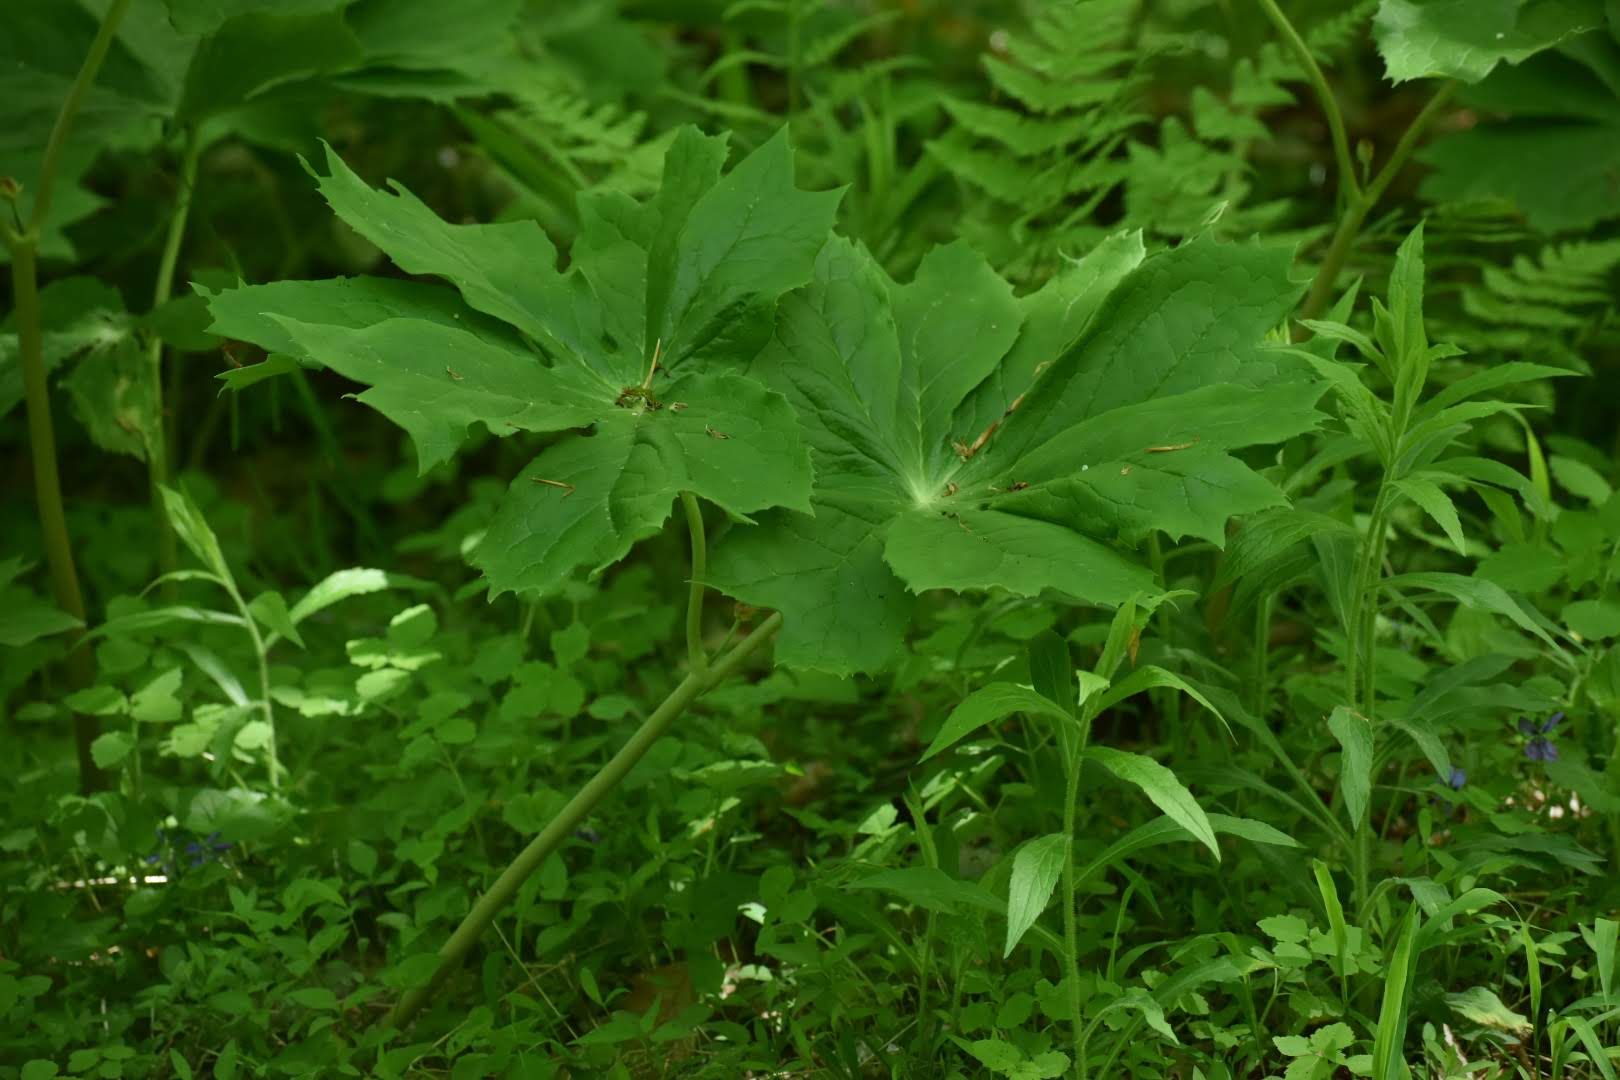
Gardening is a fantastic hobby that can help improve mental and physical health, while also producing fresh and healthy food. With spring just around the corner, March is an excellent time to start planning and planting your garden in Western Pennsylvania.

Gardening In March
Gardening In March

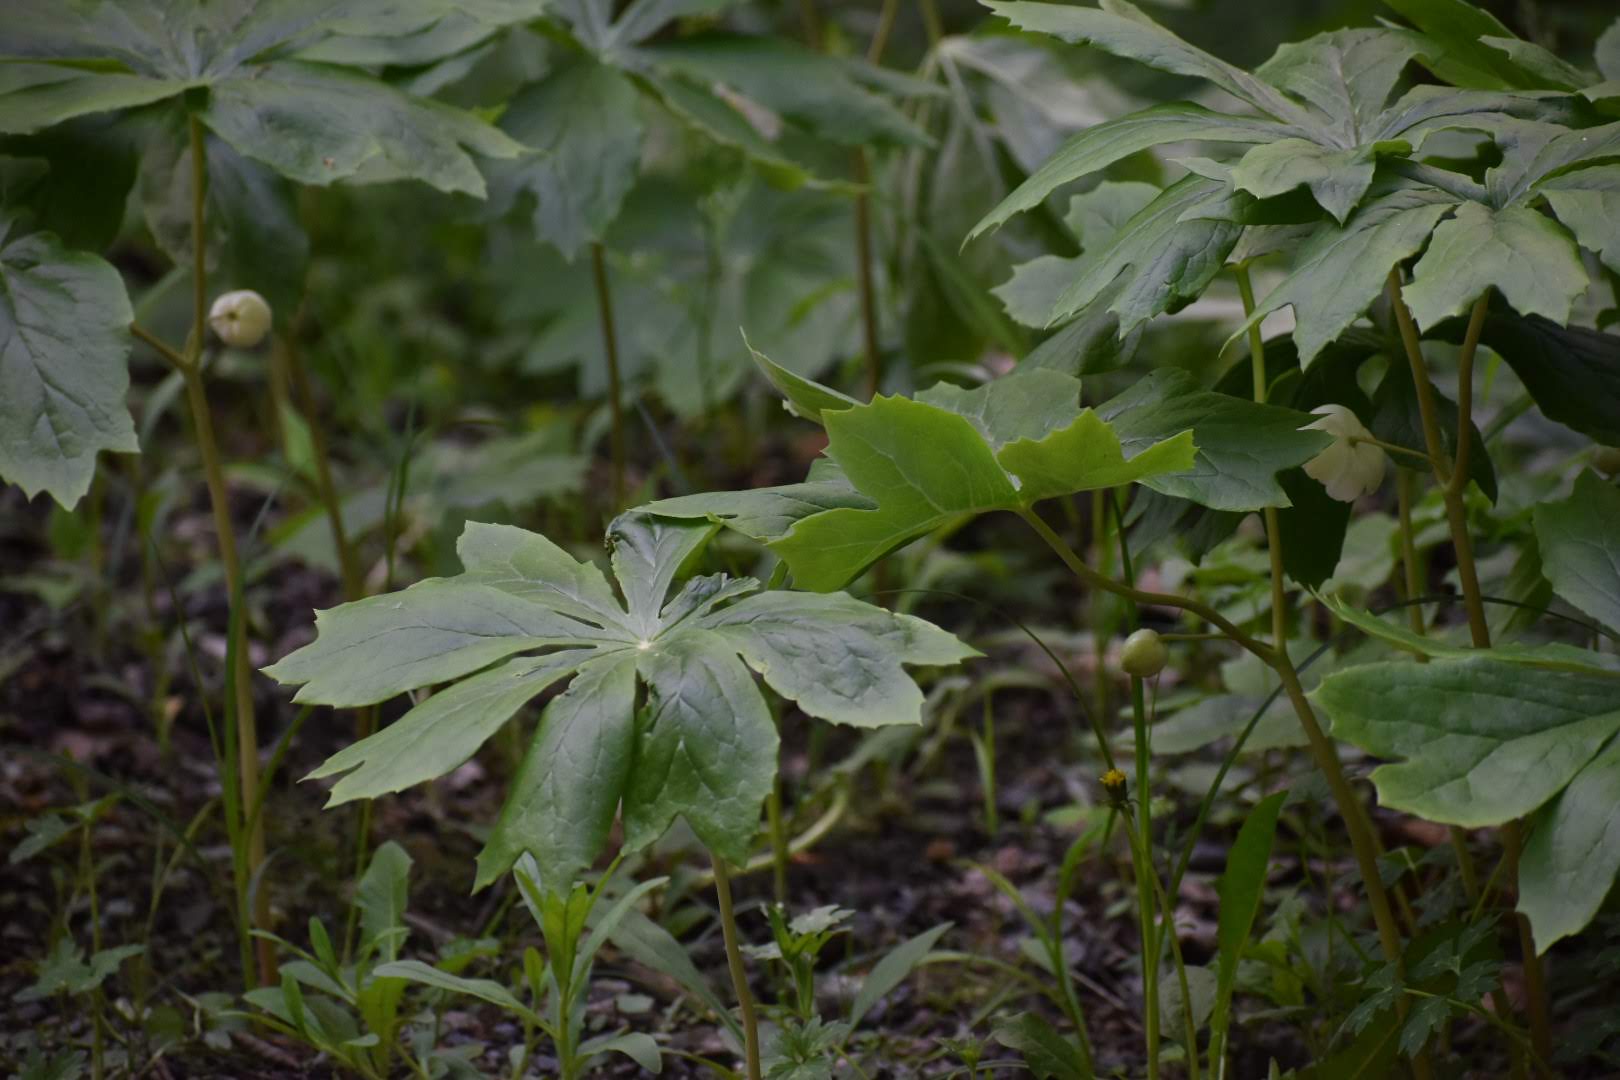
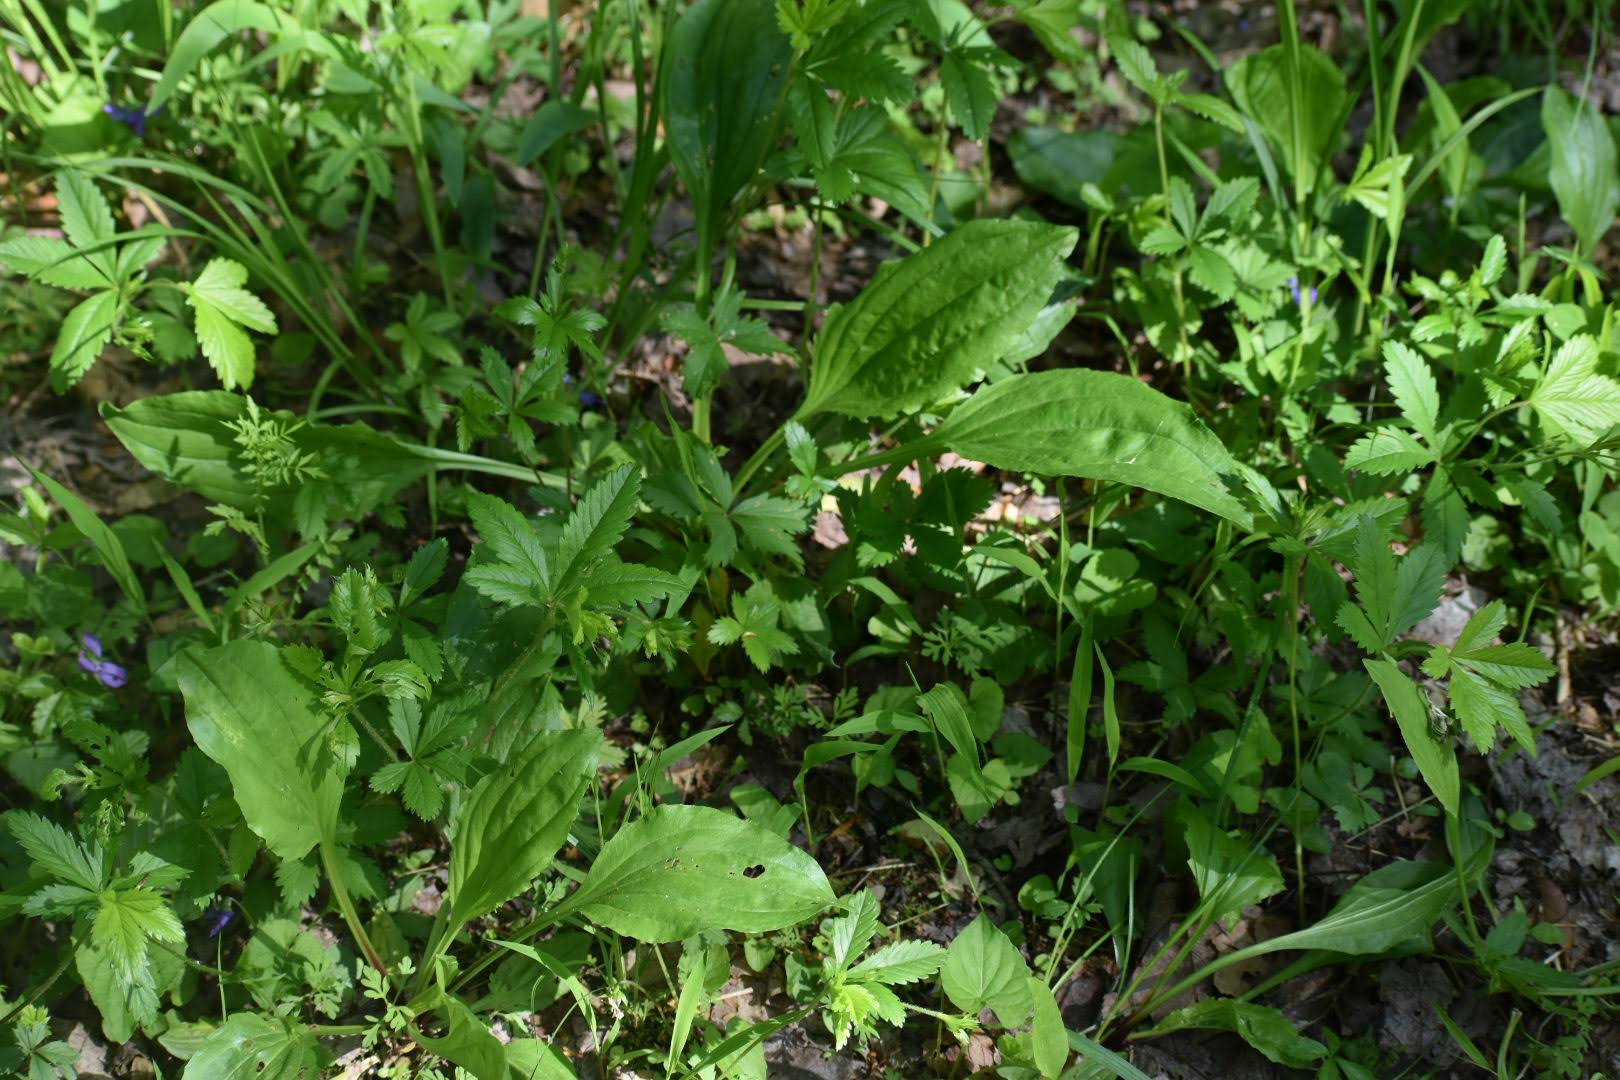
Western Pennsylvania has a temperate climate with long, cold winters and short, hot summers. The area is known for its fertile soil and is suitable for growing a wide variety of vegetables, fruits, and herbs. Here are some of the plants that can be planted in March in Western Pennsylvania:

  1. Peas – Peas are a cool-season crop that can be planted in early spring, making them perfect for March planting. They thrive in cooler temperatures, and their sweet, tender pods are an excellent addition to salads, stir-fries, and soups.
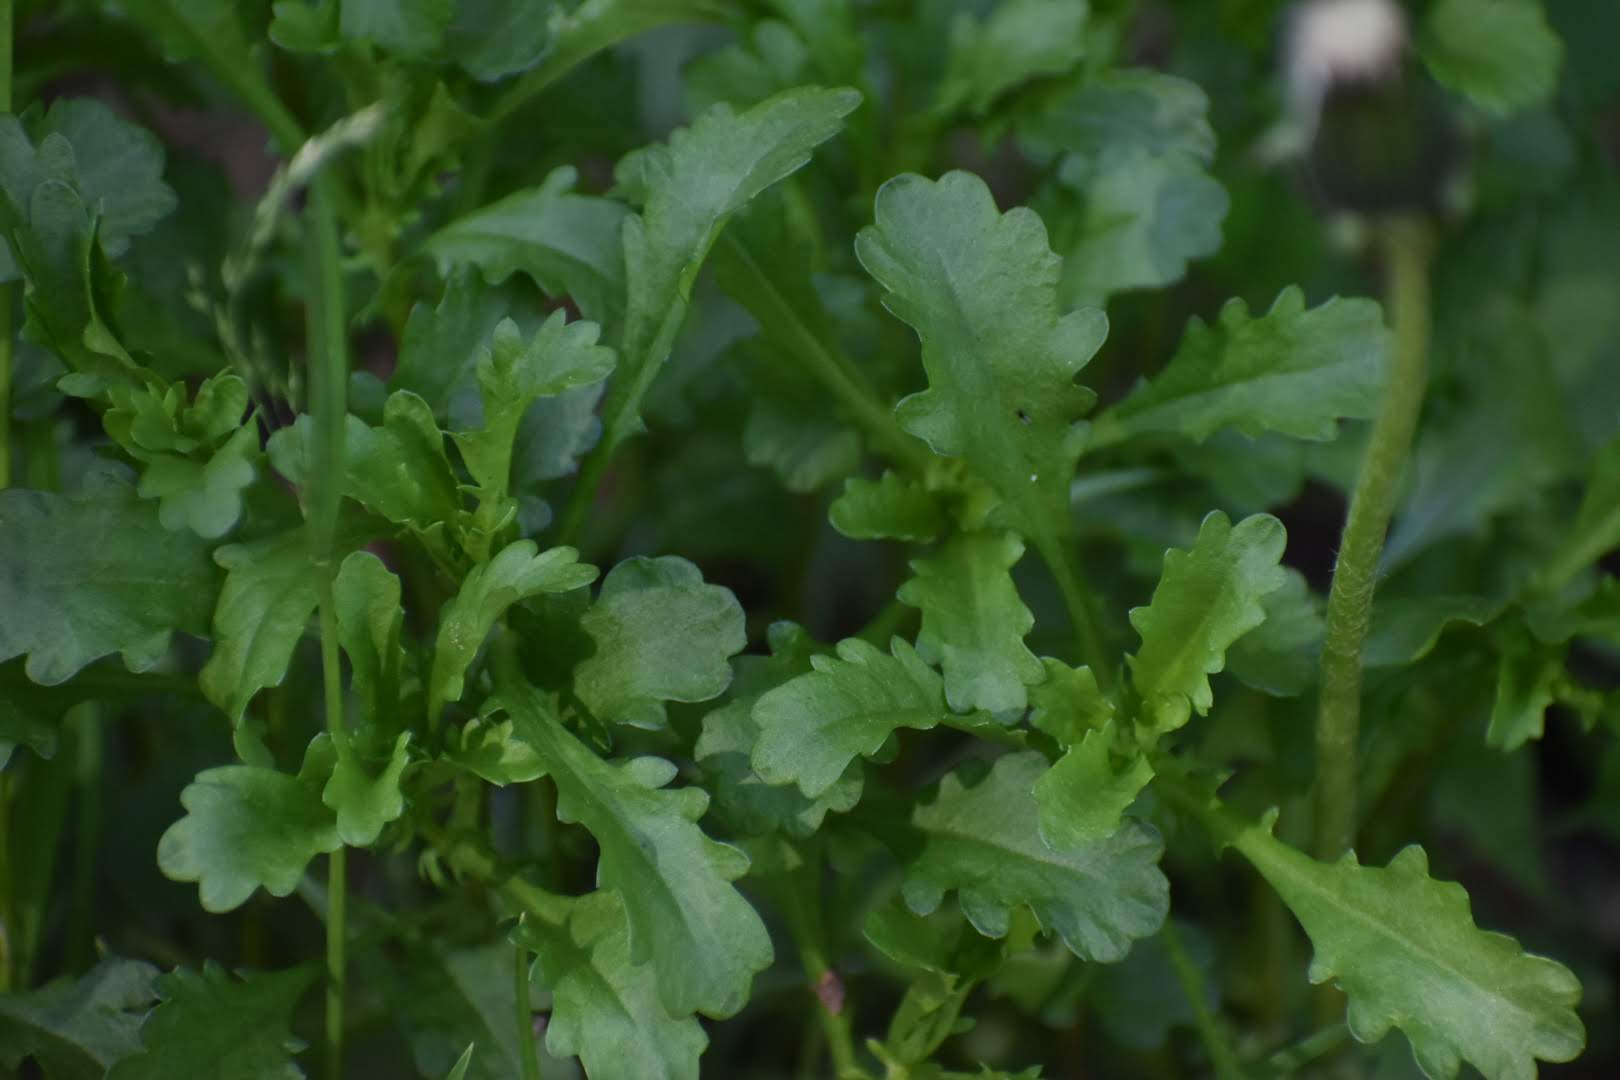
  2. Lettuce – Another cool-season crop, lettuce can be planted in early spring and harvested within a few weeks. This fast-growing crop is perfect for salads, sandwiches, and wraps and can be grown in containers or raised beds.
  3. Radishes – Radishes are easy to grow, quick to mature, and can be planted in March in Western Pennsylvania. They add a spicy crunch to salads, sandwiches, and soups and can also be pickled or roasted.
  4. Spinach – Spinach is a nutrient-rich leafy green that can be planted in March in Western Pennsylvania. This cool-season crop can be harvested within a few weeks and is perfect for salads, smoothies, and sautés.
  5. Onions – Onions are a versatile crop that can be planted in March and harvested in late summer. They add flavor and depth to a wide variety of dishes and can be stored for several months.
  6. Broccoli – Broccoli is a cold-tolerant crop that can be planted in early spring and harvested in late spring or early summer. This nutrient-rich vegetable is delicious roasted, steamed, or added to stir-fries and casseroles.
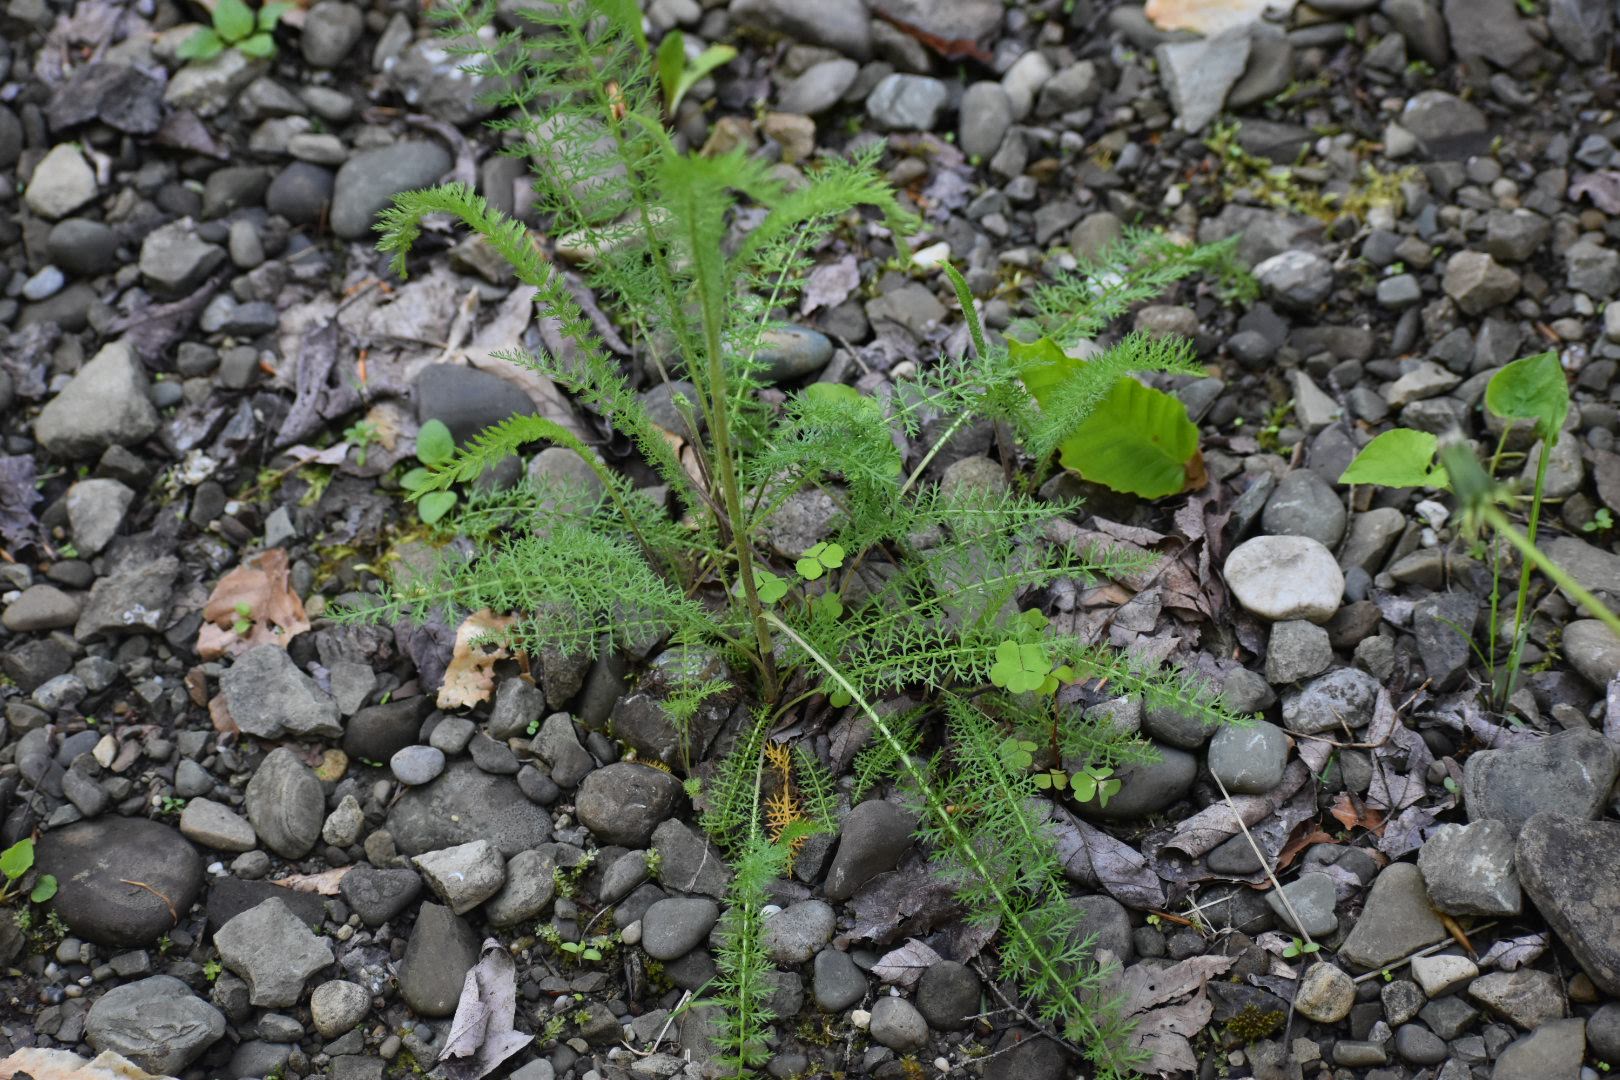
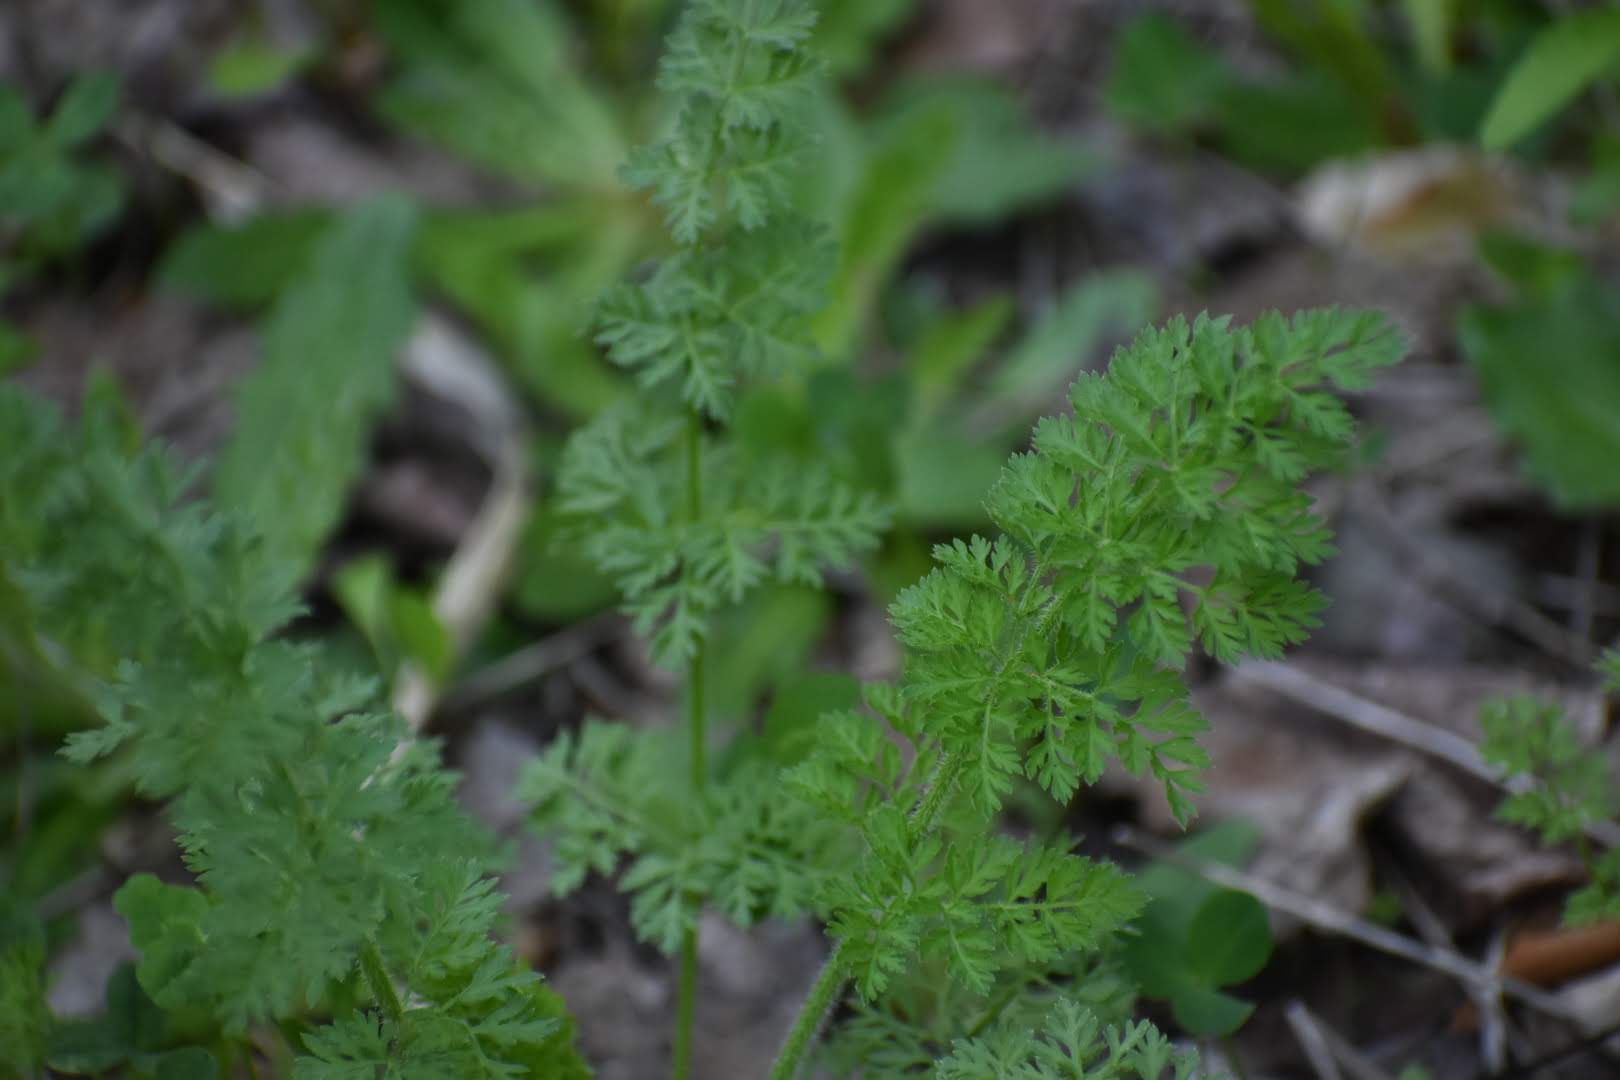
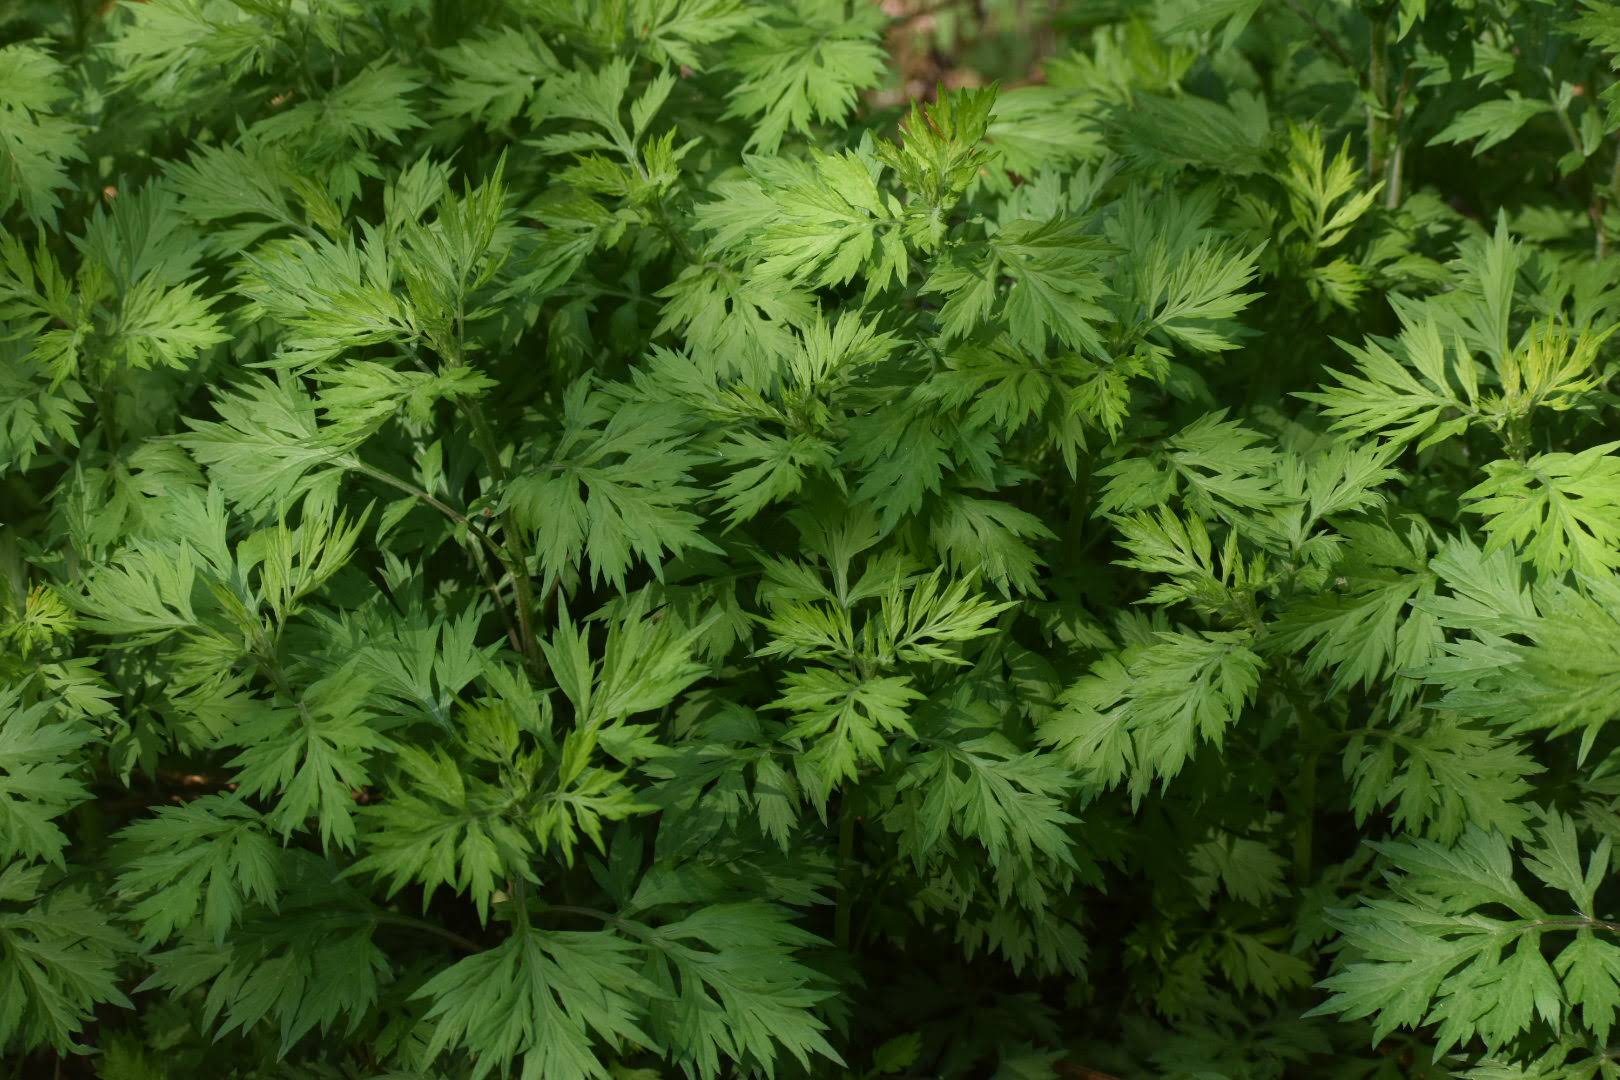
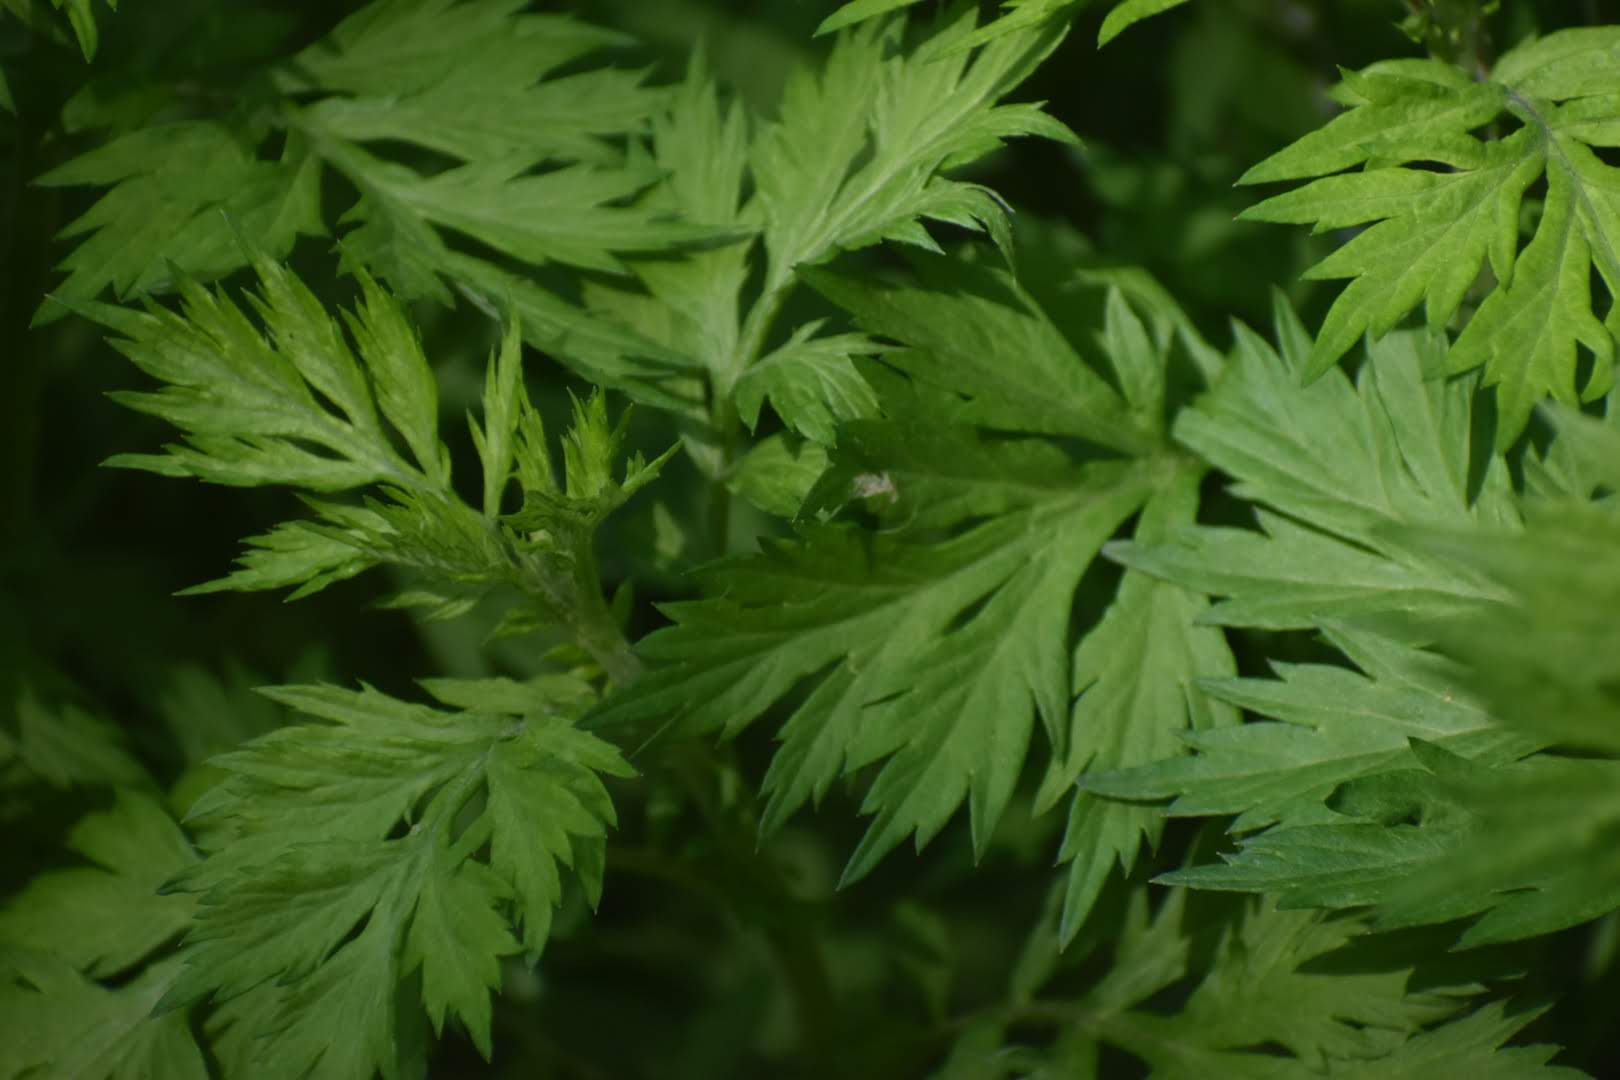
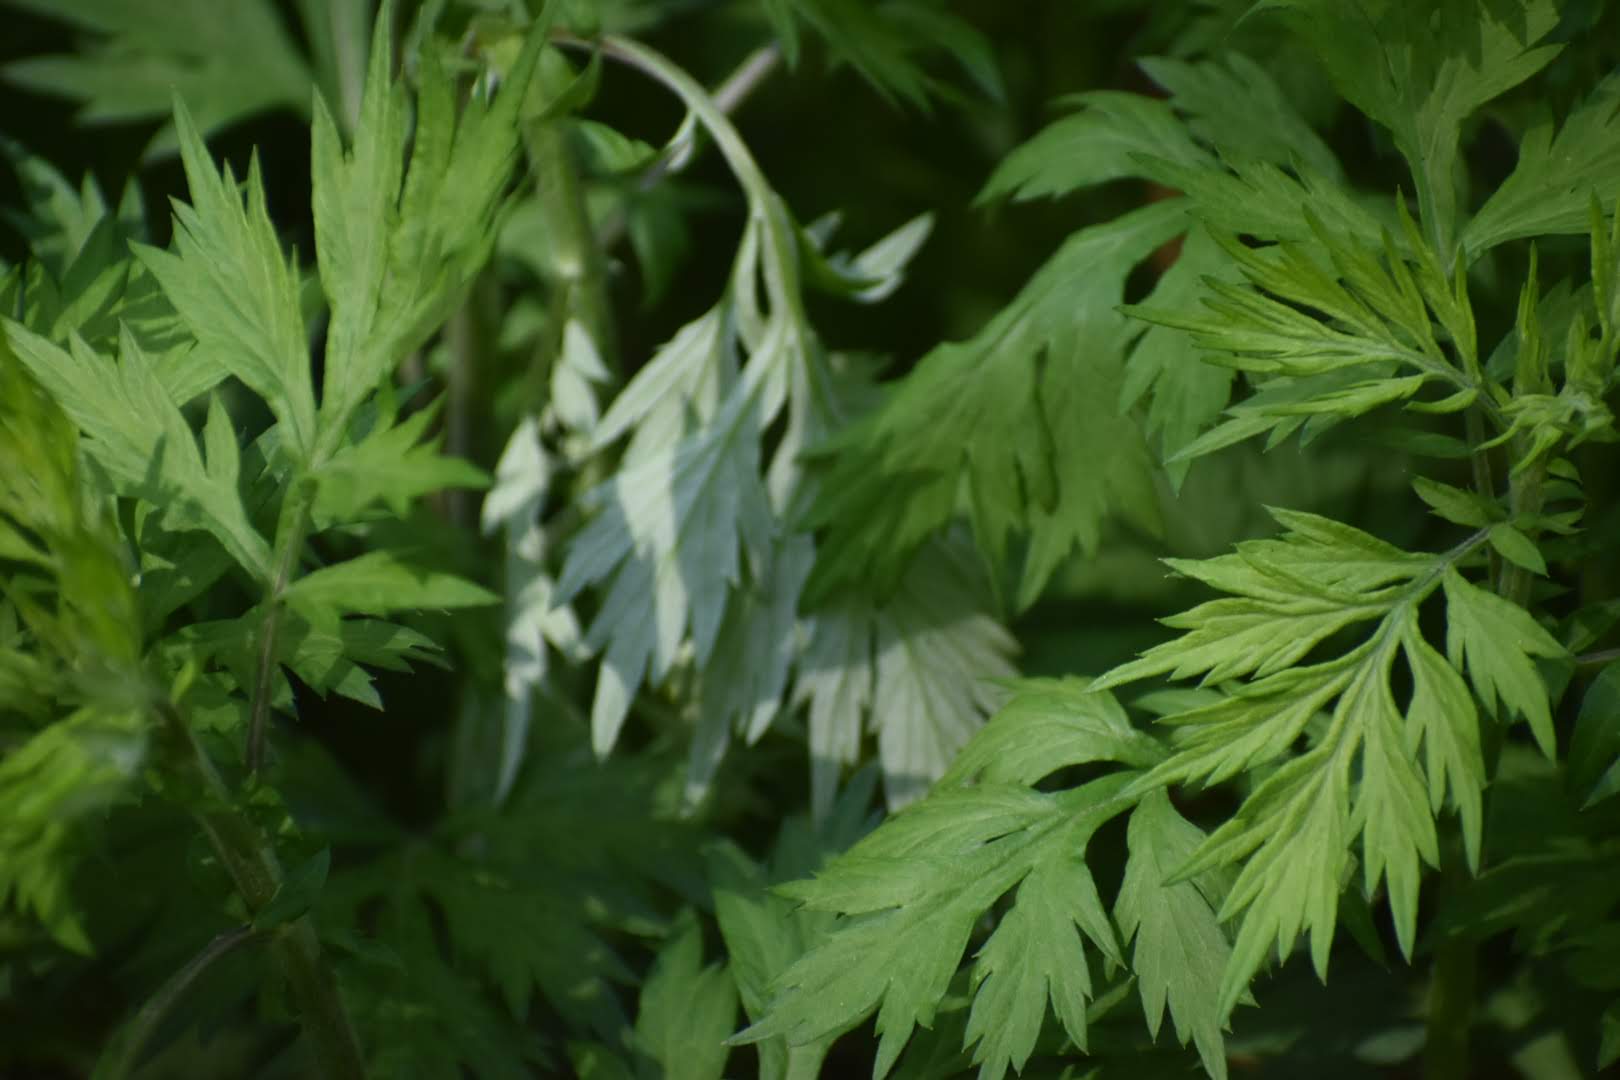
  7. Carrots – Carrots can be planted in March in Western Pennsylvania and harvested in late summer or early fall. These versatile root vegetables can be roasted, boiled, or added to soups and stews.
Gardening In March
Gardening In March

When planting your garden, it’s essential to consider factors such as soil type, sunlight, and watering needs. Be sure to choose a location that receives at least six hours of sunlight per day and has well-draining soil. You may also want to consider using organic fertilizers or compost to improve soil health and increase crop yield.

Gardening In March
Gardening In March

How To Start The Seeds

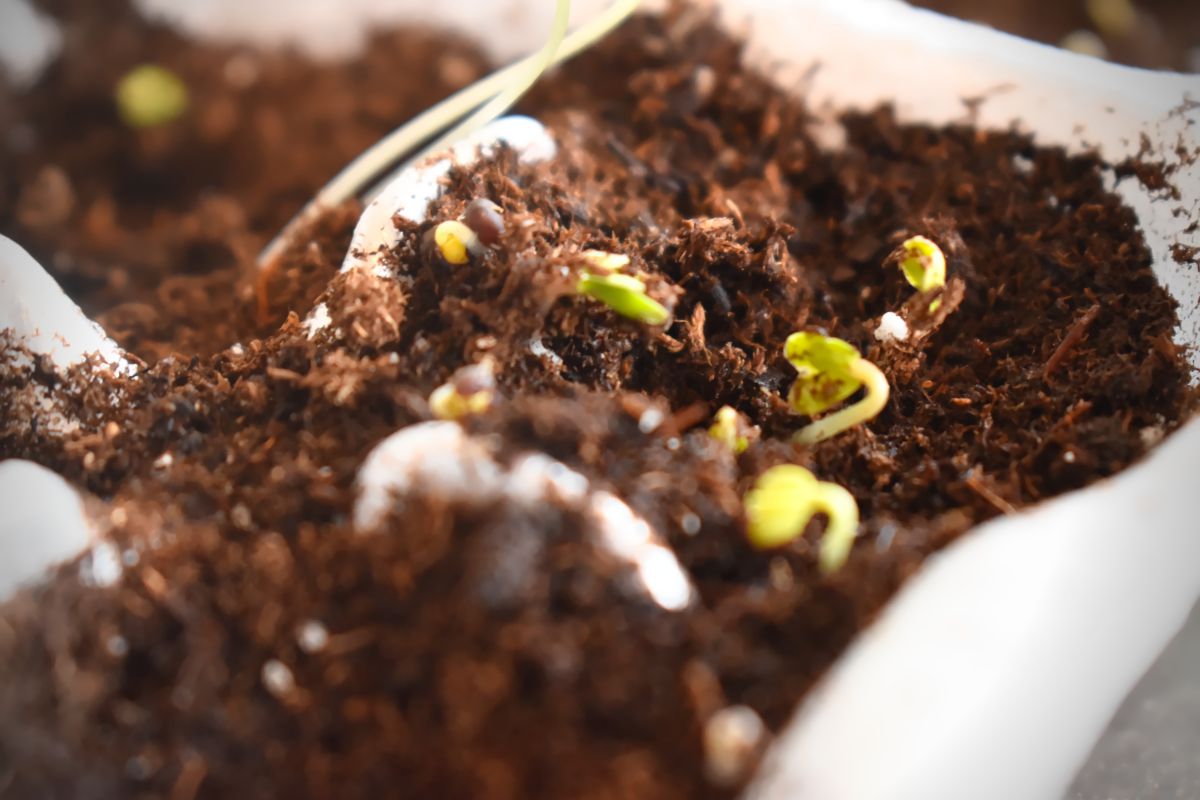
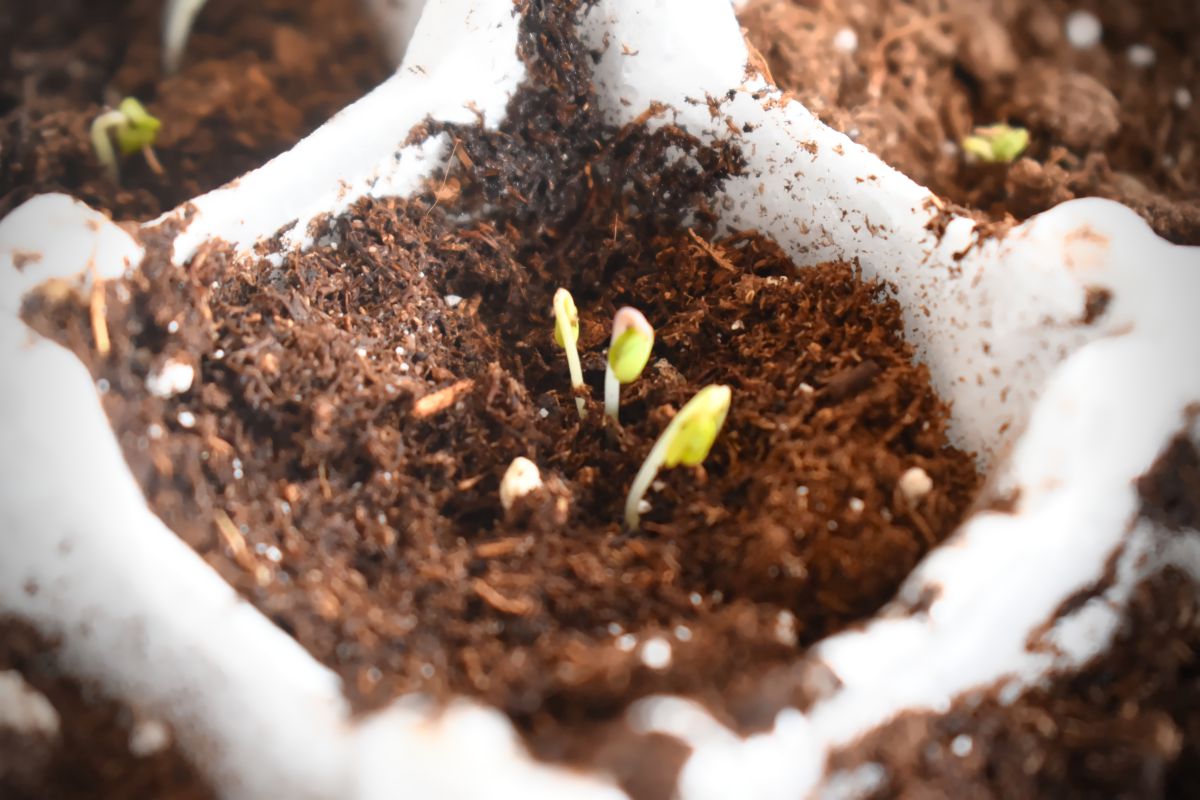
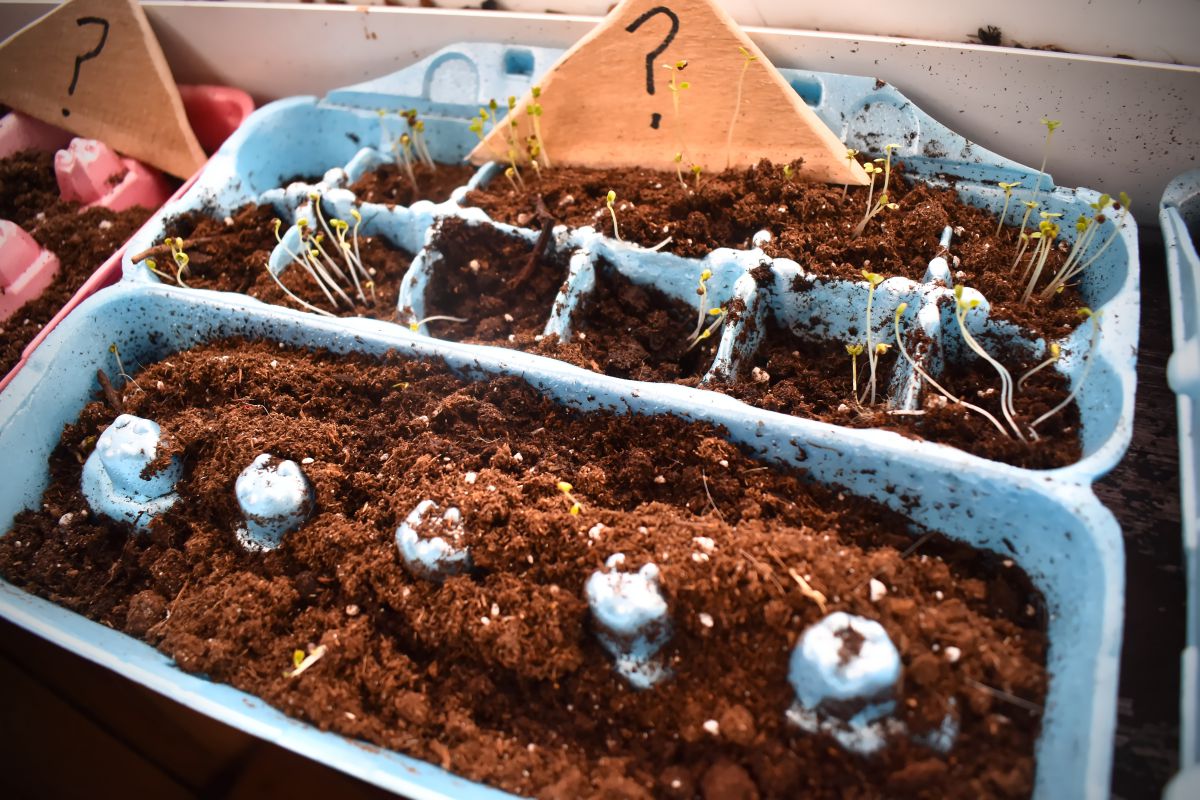
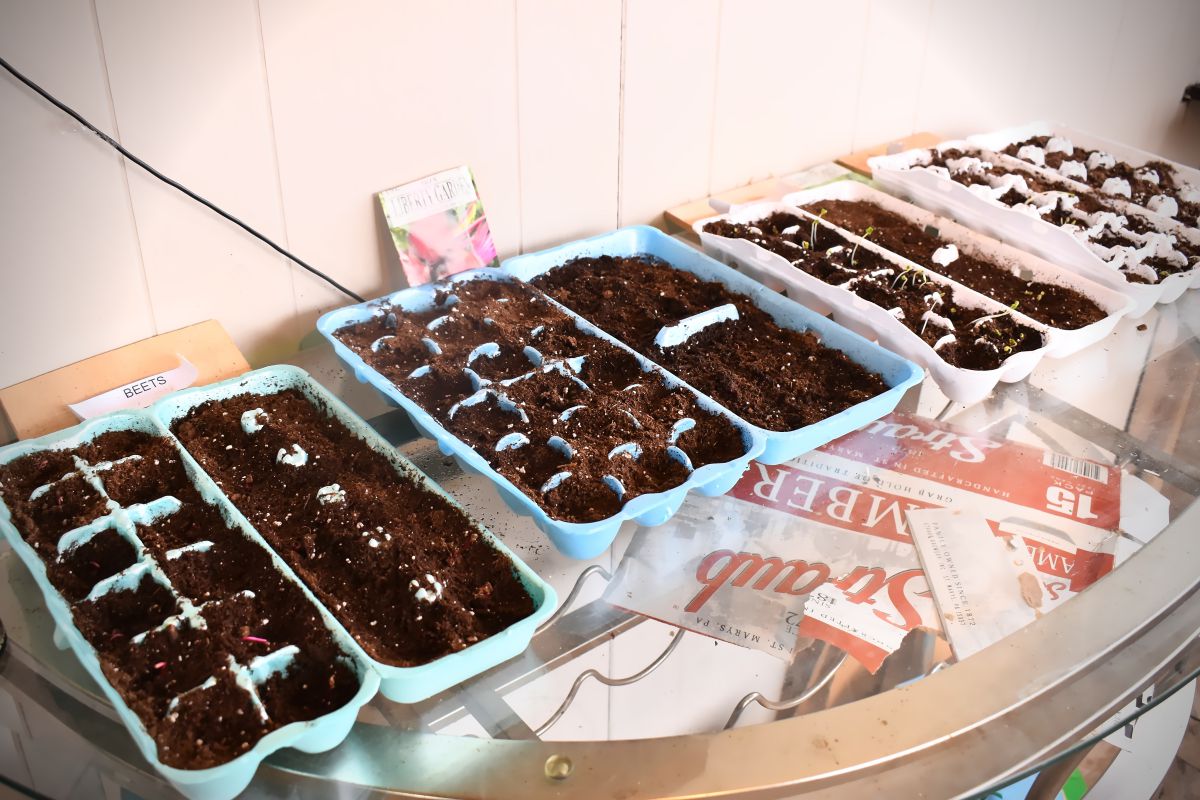
Starting seeds indoors is a great way to get a head start on the growing season, especially for crops that require a longer growing season. Here are the steps for starting seeds indoors:

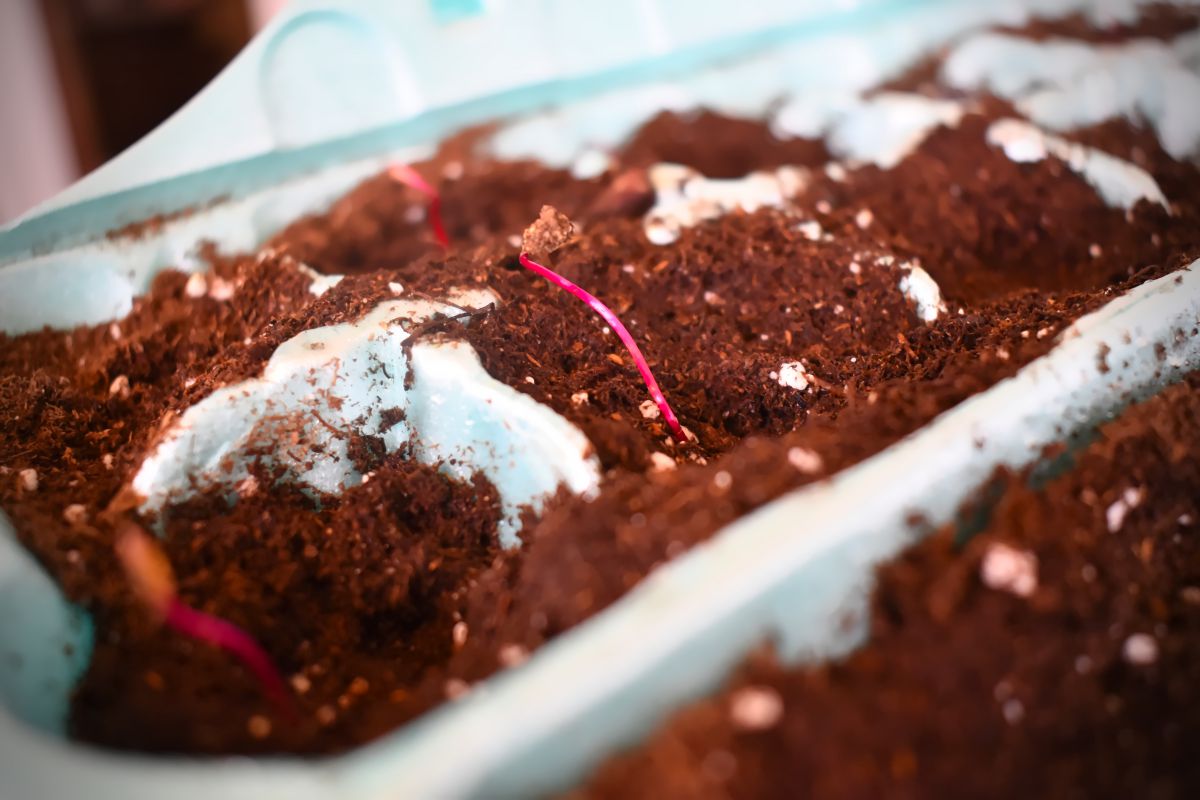
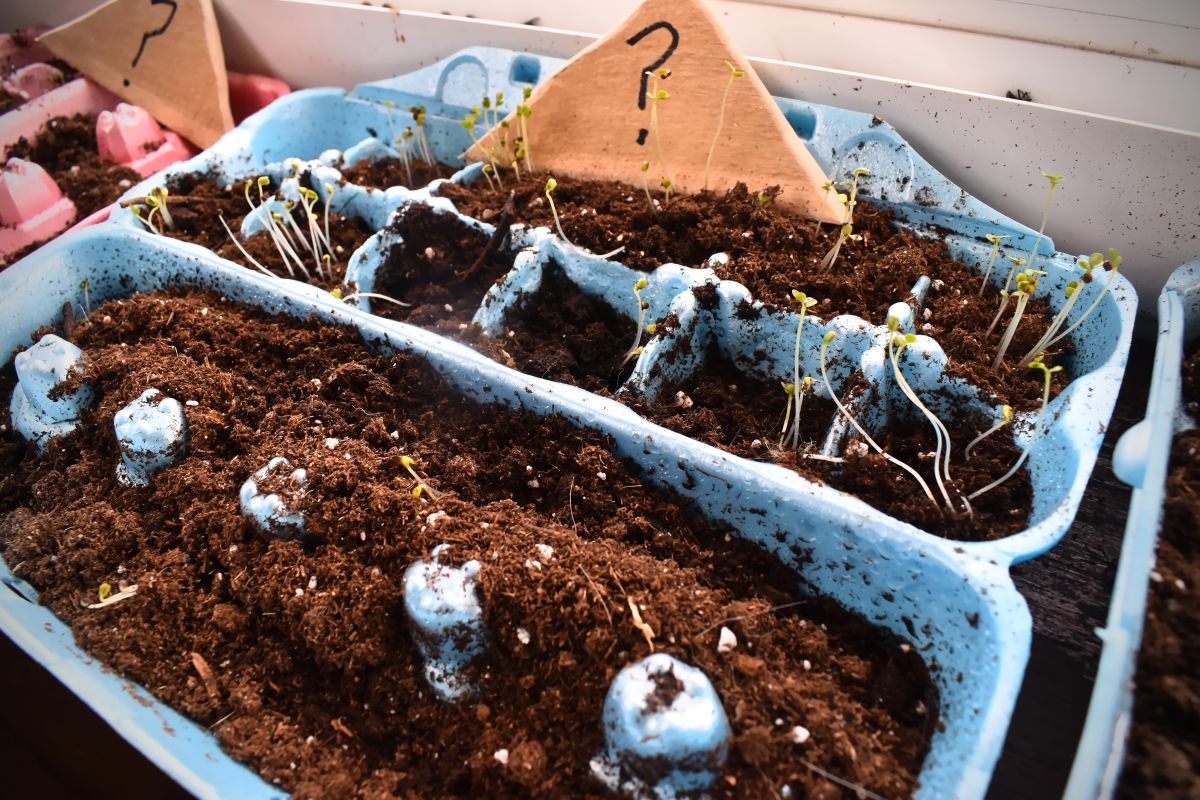
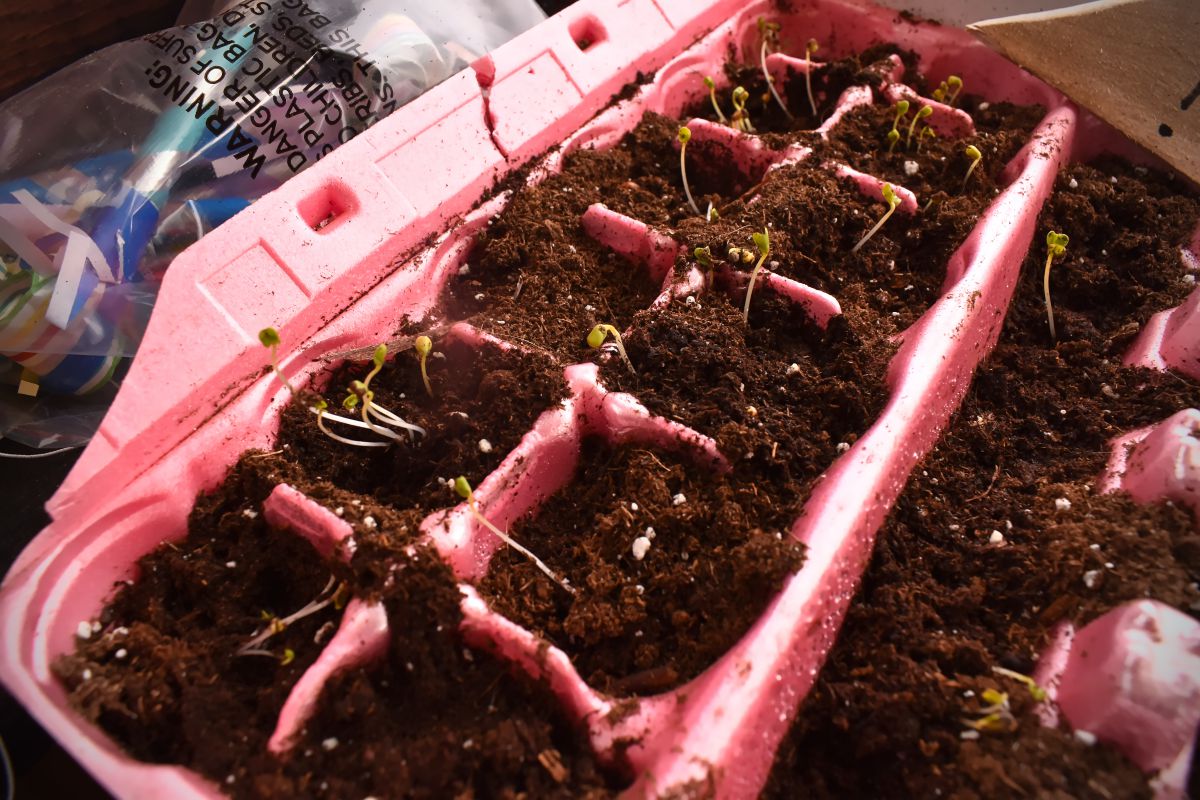
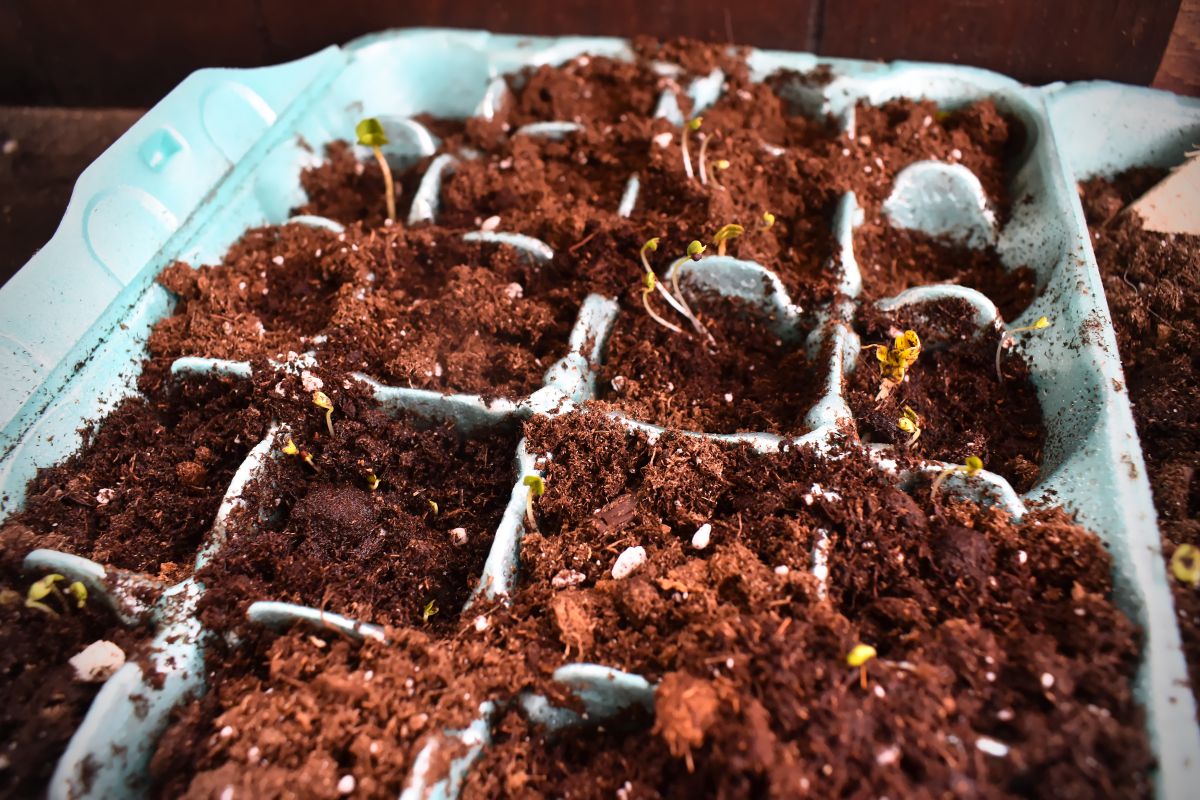
  1. Choose the right containers – Seed starting containers can be purchased at gardening stores or made from recycled materials, such as egg cartons or yogurt cups. Make sure the containers have drainage holes to prevent overwatering.
  2. Select high-quality seed starting soil – Seed starting soil is a lightweight, nutrient-rich soil mix that provides the ideal environment for seed germination. Avoid using regular garden soil, which may contain weed seeds or pathogens.
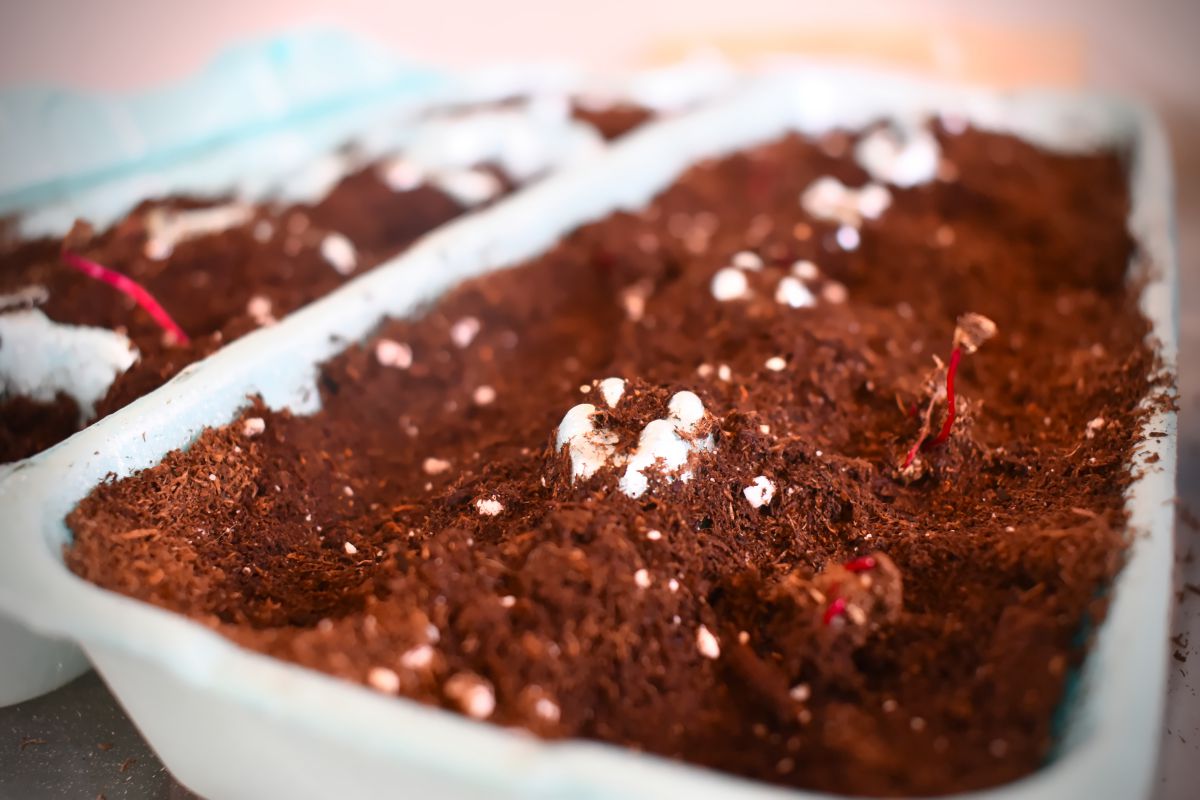
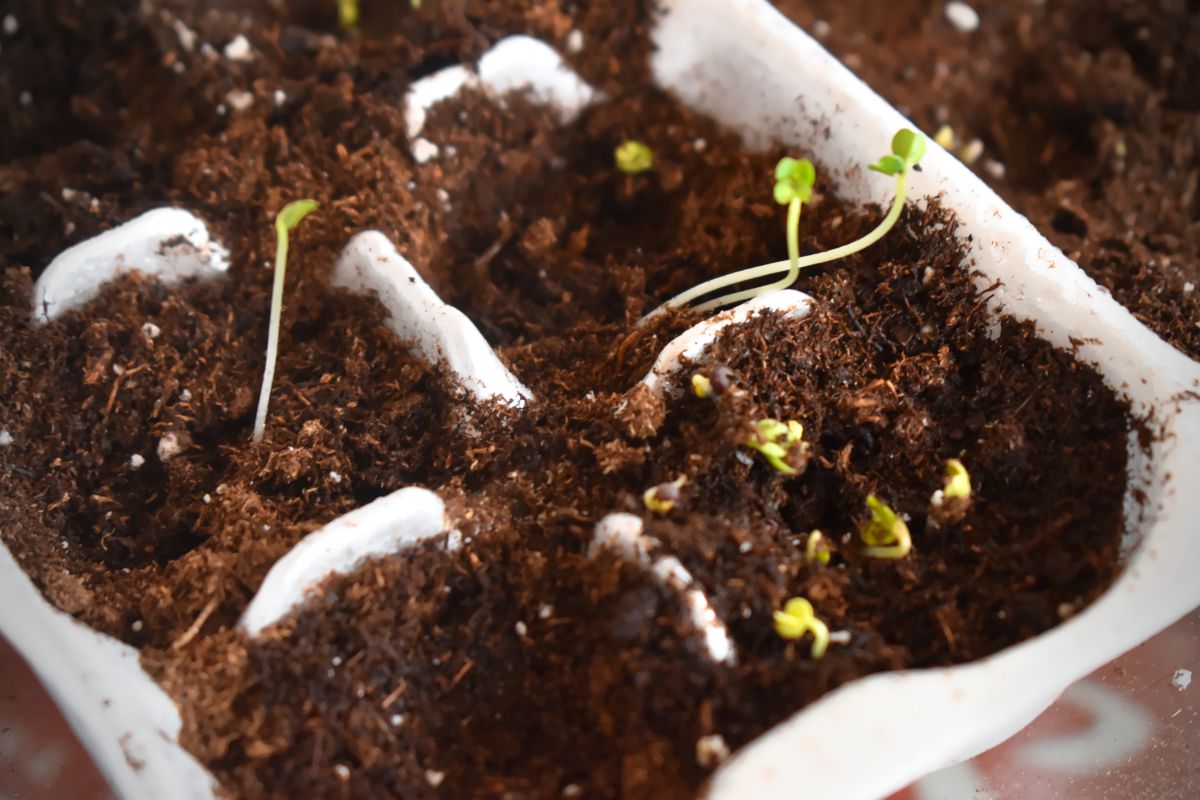
  3. Plant the seeds – Follow the instructions on the seed packet for the appropriate planting depth and spacing. Moisten the soil mix with water, then gently press the seeds into the soil, cover with a thin layer of soil mix, and water again.
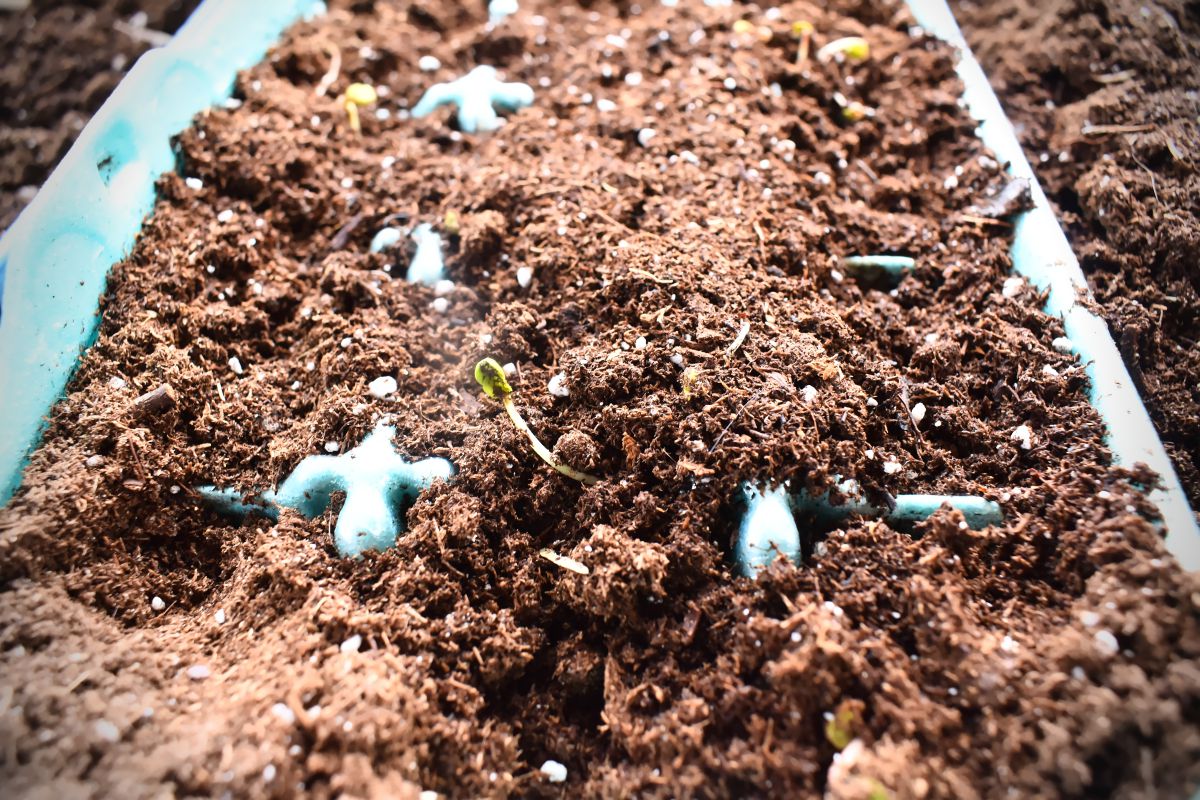
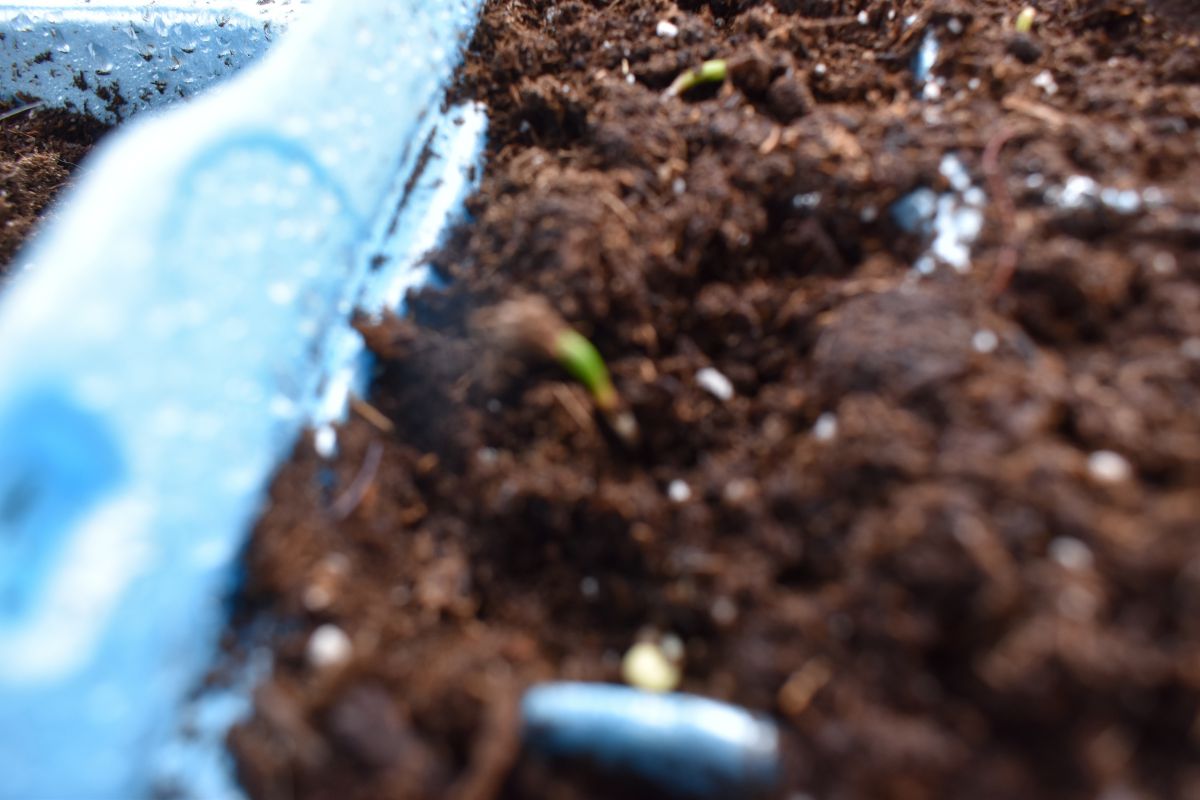
  4. Provide light and warmth – Seeds need warmth and light to germinate. Place the seed containers in a warm, bright location, or use grow lights to provide adequate light.
  5. Water regularly – Keep the soil moist but not waterlogged, as too much water can cause the seeds to rot. Use a spray bottle or watering can with a fine nozzle to avoid disturbing the soil.
  6. Transplanting – Once the seedlings have grown their first true leaves, they can be transplanted into larger containers or moved outdoors to the garden. Gradually acclimate the seedlings to outdoor conditions by placing them outside for a few hours a day before planting them in the ground.
Gardening In March
Gardening In March

Starting seeds indoors can be a fun and rewarding experience, but it’s important to remember that each crop has different requirements for temperature, light, and moisture. Do some research on the specific crops you’re growing to ensure they have the best chance of success. Happy planting!

In conclusion, gardening is an enjoyable and rewarding activity that can help improve mental and physical health while also providing fresh and healthy food. March is an excellent time to start planning and planting your garden in Western Pennsylvania, with a wide variety of cool-season crops that can be planted and harvested within a few weeks or months. Happy gardening!

Super Nutrient Dense Meal | Spike Energy | Get Rid Of Hunger Pains

THE MOST NUTRIENT DENSE MEAL ON THE PLANET

There is a secret to a nutrient dense meal and that is knowledge! Recently, I have been receiving advice from many older folks that are happy and healthy. The name of the meal is Hog’snot and Horseshit. Here is what I found out, but a little bit about the background.

All The Fat People are Starving To Death

When I was a child, I used to go visit my uncle Earl. He had a unique way of eating. That must be why he died at the ripe old age of 90 of loneliness. Anyway, he told me that all the fat people are starving to death. I thought it was funny in my young mind, but now, I agree with him. Their bodies are craving nutrients, but they mistakenly give it filler foods.

Quit Starving Yourself To Death

There are other people with high metabolisms that will process junk food and not put on a pound but, they are still not healthy. Ask them to go on a 5 miles hike, and you will see what I mean. Anyway, don’t you think it is time to quit starving yourself to death?

Nutrient Dense Foods

Your goal should be to consume the most nutrient dense foods available to you. Give up the sugar, bread and alcohol. These are all just fillers. When consuming them you get that feeling of euphoria but only for a short time. When your body realizes that you fed it shit, then you’re hungry again. Your energy goes out the door, and you’re tired and need a nap because of your insulin resistance.

Try This Nutrient Dense Meal for 2 Weeks

I am going to provide you with a grocery list and instructions on how to prepare this nutrient dense meal. DO IT FOR 2 WEEKS! After eating this meal you will be satisfied. After a couple of days you will see that you have lasting energy.  You will not be as tired or cranky. Your body will start to feel good. Remember this, Remember this, “You get healthy FIRST to lose the fat, you do not lose the fat to get healthy!” OK, do I have to say that again? Get healthy first to lose the weight, you do not lose the weight to get healthy. So many people are backass ackwards when trying to approach weight loss.

My Mentors

My research is based upon old timers experience and what they kindly shared with me. Uncle Earl is dead, but there is one other person who I speak with on a regular basis. He is nearly 90 years old and can run with a tire tied to his back in 90 degree weather. If you want to confirm it, his name is Jerry Kyle, and he has a website all about health, happiness and longevity here. Yes, he has videos on his website of him actually doing this.

Two Week Challenge

OK so you want to eat like a healthy old timer? Want to know how they reached that age with no health problems? Do this for 2 weeks!

Grocery List


Prepare Food

Here is how I prepare the nutrient dense food and why I do it this way. It’s best to buy it fresh and then do the prep work. You get stronger vitamins and minerals that way. When you cut food and let it set, it looses its strength.

Cabbage Prep

Take out your head of cabbage and cut it up into little bit size pieces that you can eat with a spoon. You can use a food processor for this.

Why Cabbage?

Cabbage with rid your body of heavy metals. This is very necessary for men and women after they cannot menstruate. Men have no other way to get rid of heavy metals.

… pectin increased the amount of lead expelled through the urine by as much as 132 percent. Foods that are rich in pectin include pears, green apples, citrus fruits, cabbage, grapes, beets, and carrots.

source:  https://sfchiro.org/7-foods-for-heavy-metal-detoxification/

Kale Prep

Repeat the process with Kale like you did with the cabbage. Chop it up into little pieces that you could eat with a spoon. A food processor works best.

Why Kale?

Kale is among one of the most nutrient dense foods on the planet. Here is what a single cup of Kale provides your body.

  • Vitamin A: 206% of the DV (from beta-carotene)

  • Vitamin K: 684% of the DV

  • Vitamin C: 134% of the DV

  • Vitamin B6: 9% of the DV

  • Manganese: 26% of the DV

  • Calcium: 9% of the DV

  • Copper: 10% of the DV

  • Potassium: 9% of the DV

  • Magnesium: 6% of the DV

  • It also contains 3% or more of the DV for vitamin B1 (thiamin), vitamin B2 (riboflavin), vitamin B3 (niacin), iron and phosphorus

source: https://www.healthline.com/nutrition/10-proven-benefits-of-kale#TOC_TITLE_HDR_2

Spinach Prep

Do the same thing with the spinach. Break it down into small enough pieces that you could eat it with a spoon.

Why Spinach?

Vitamin A, K, C iron, folate, & potassium. Fights germs, good for the heart. Big boost to the immune system!

Read more here. https://www.webmd.com/diet/ss/slideshow-health-benefits-of-spinach

Burger Prep

As far as the burger goes, only eat about the size of the palm of your hand. Put it in a pan on lower heat. DO NOT THROW AWAY THE BURGER JUICE! We are going to use it.

Why Burger?

Because it is packed with nutrients. B vitamins, iron, zinc, protein and more!

Steaming Leafy Veggies

OK, throw 1/2 cup cabbage, 1/2 cup kale, half cup spinach into the steamer. If you do not have a steamer, you can boil them in water. If you have a steamer, drizzle a little bit of olive oil onto the mixture. Like 1/2 shot glass.

Make the Yummy Yum Sauce

Now, the first thing that you have to do is make the Mayonnaise. All you need for this is:

  • 1 Cup of Olive Oil
  • 2 Brown Eggs
  • 1 Tablespoon of Mustard
  • 1 Tablespoon of Lemon Juice
  • 1 Tablespoon of Apple Cider Vinegar
  • 1 Immersion Blender
  • 1 Longer cylinder type container.

Put 2 eggs and a tablespoon of mustard in the container. Place your immersion blender on top of the eggs.  DO NOT push the button yet. Pour the olive oil into the container while the immersion blender is on top of the eggs and mustard. Add your lemon juice, apple cider vinegar on top of the olive oil. Start with small, short bursts of the blender. When you see the mayo start floating to the top, then push the button fully, slowly picking it up out of the mayo.  Here is a video just in case you want to watch this process being done.

https://www.facebook.com/maximus.mccullough/videos/1137812953755537

Now that you have your Mayo made. Dump half of it into a bowl and add the following.

  • 1 Tablespoon of Minced Garlic
  • 1 Tablespoon of minced ginger
  • 1 Tablespoon of horse reddish
  • 1 Tablespoon of apple cider vinegar
  • 1 Teaspoon Rosemary Spice
  • 1 Teaspoon Curry Spice
  • 1 Teaspoon Paprika Spice
  • 1 Teaspoon Black Pepper
  • 1 Teaspoon Onion Powder
  • 1 Teaspoon Garlic Powder
  • 1 Teaspoon Basil Spice
  • 1 Teaspoon Oregano Spice
  • 1 Shot of Balsamic Vinegar
  • 1/4 Cup Frozen Blueberries

Mix until it’s real creamy.

Adding The rest

Now take your steamed Kale, Spinach, and Cabbage and dump them into the Yummy Yum sauce. Also dump in the burger and the burger juice! Mix until it is all covered with the Yummy Yum sauce. Place on a plate and cover with Parmesan Cheese. It should look something like this.  Enjoy!

Super Nutrient Dense Meal


Exploring Plant Life in Ludlow Pa

exploring plant life in Ludlow Pa

One thing that I like to do is explore plant life around where I live. It’s not only fun, but learning the different plant species can be helpful. You can learn about the ones that are poisonous and the ones that are not. Ones that taste good and ones that do not taste so good. There are also a lot of health benefits that these plants offer.

Exploring Plant Life in Ludlow Pa

I have taken pictures of some of the plant life here in Ludlow. Can you name what they are? Below is a gallery of the plants, see how many you can name. I will make weekly posts about the plant life here and what you can and cannot eat. I will also share some recipes and the uses these plants have had in the past. Exploring plant life is educational and fulfilling.

Food Is My Medicine

I am of the philosophy that food is my medicine. Studies suggest you are healthier if you eat the plants around where you live.  This is the perfect time of year to lean about harvesting wild plants for your dinner plates and there are literally tons of plans growing in our back yards here in Ludlow Pa! 

What should I keep in my bug out bag?

Make sure you are packing the essentials. Fire, shelter, food, water. Pick tools that are easy to use and not too heavy. Make sure you have something to eat off of, like a pan or a pot. Also have something to harvest wood, possibly a hatchet or machete or saw. Get something to skin an animal, a really nice sharp blade. possibly dig a hole, like a tri fold shovel. And self defense, consider a knife, some bear mace, or maybe even a gun.

Some of these tools could be multi-use. You will also need cordage(rope) to tie things together and possibly drag things. You might need a tarp to keep dry or wrap up to conserve body heat. Make sure you have some kind of water container(with water in it) and a water purifier and some food to eat. And make sure you have something to sleep in.

Consider the terrain you will be camping at to choose your sleepwear. Plus, keep a reusable Firestarter to make sure you have heat. It would make it easier if you had waterproof bags but it is not necessary. Another thing to think about is the bag itself, you should choose a bag comfortable for you that has the proper straps. Try to think of weight. The lighter the better. You might know how far you will have to go for safety, but plan that you’re going farther.

HOW TO WATERPROOF YOUR OLD BOOTS

waterproof boots

This is a video on how to waterproof your boots. It’s really easy. Here is a list of cheap supplies you will need to waterproof your old boots.

Supply links from Amazon

  1. Paint Brush
  2. Bees Wax OR Paraffin Wax
  3. Petroleum Jelly
  4. Cedarwood Oil


eBay

  1. Paint Brush
  2. Bees Wax OR Paraffin Wax
  3. Petroleum Jelly
  4. Cedarwood Oil

Another thing that you can do that I did not bring out on the video is that you can heat your boots up in the oven before applying the mixture. This makes the mixture absorb even further into the material. You can repeat and polish several times to get a good watertight seal.