Just a 10-mile drive northwest of Marienville, with the last third on fairly well-maintained dirt roads, will bring you to the small parking area for Logan Falls. This parking spot is located along Coal Bed Run Road at these coordinates: 41.584621, -79.159588.
From the parking area, a clear but unmarked trail leads down to Logan Falls. The trail is about a third of a mile long and, although it’s not marked, it’s easy to follow, though somewhat overgrown in parts. The path is relatively easy but does lose about 200 feet of elevation on the way to the waterfall, making the return trip slightly more challenging. Along the way, you’ll pass massive, moss-covered boulders, and if you visit during the summer months, you’ll find the forest radiating an almost unreal shade of green.
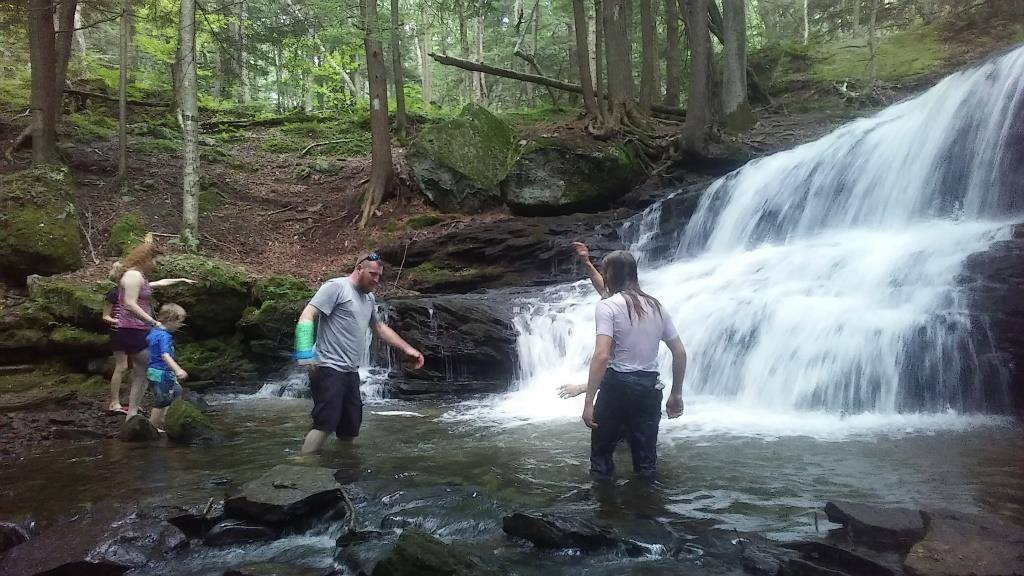
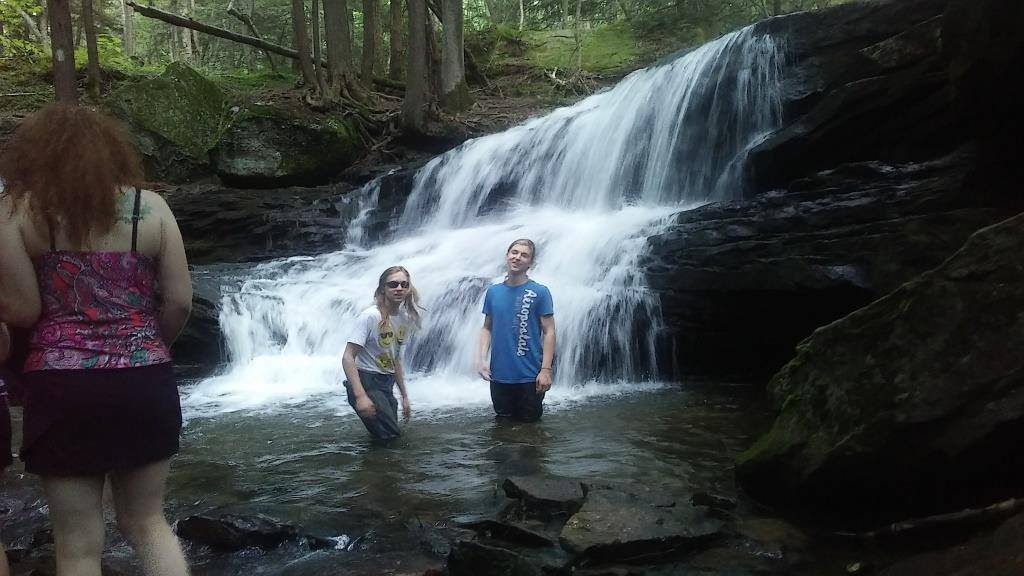
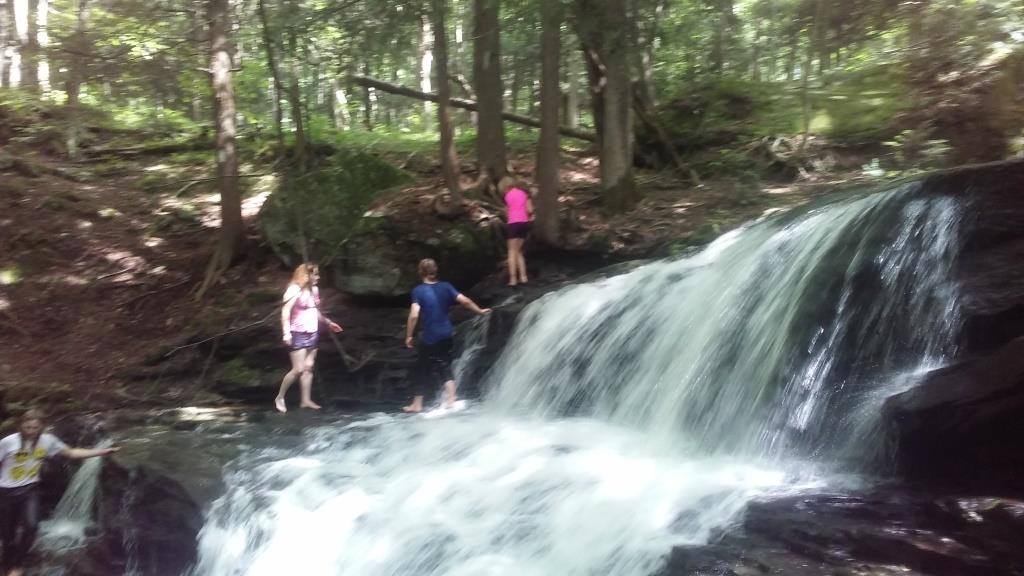
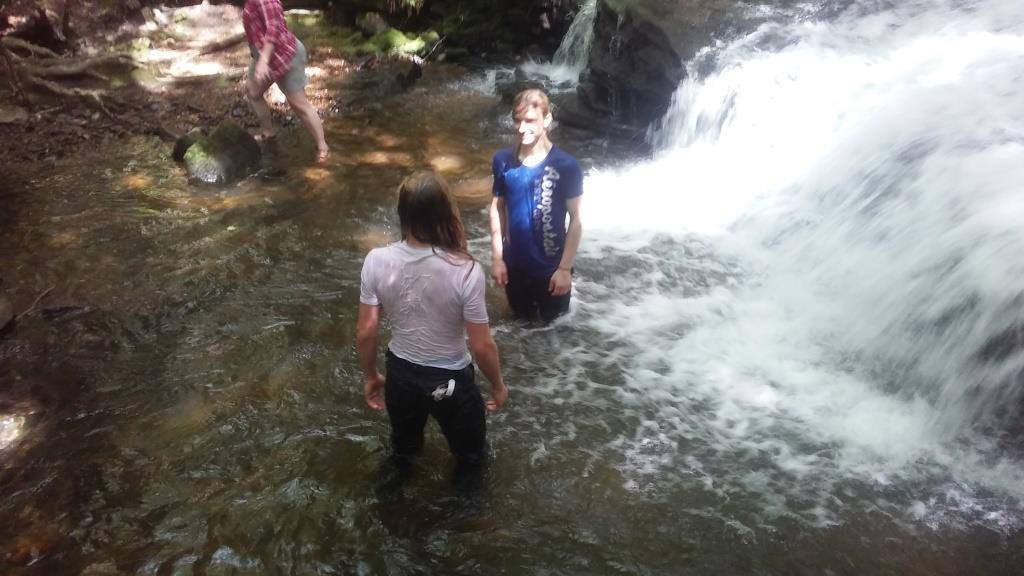
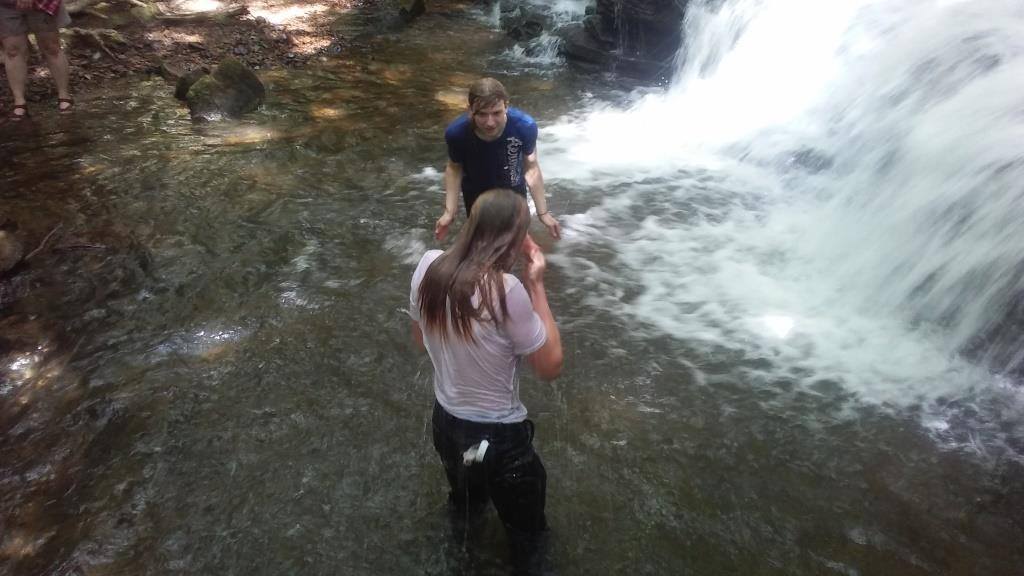
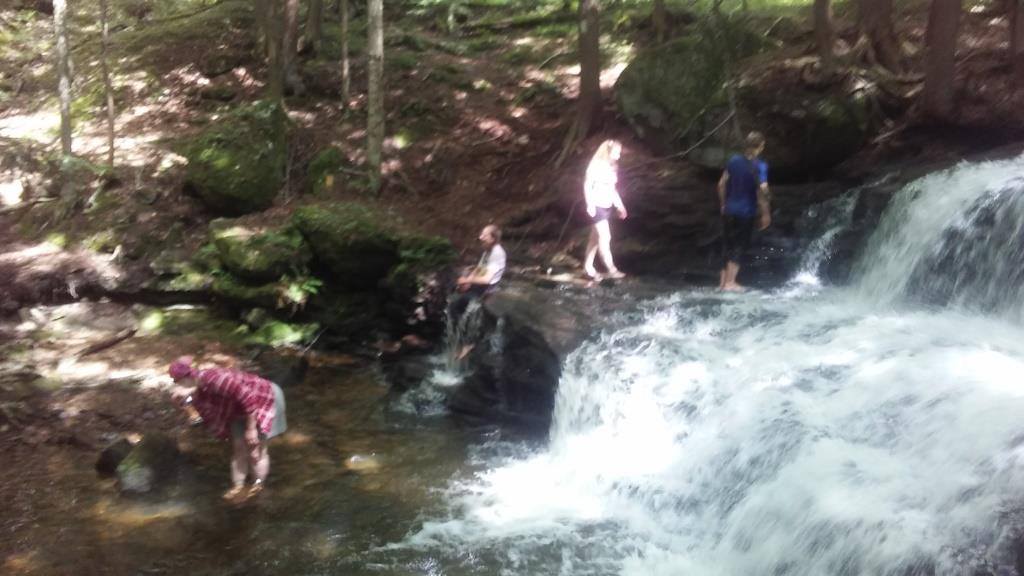
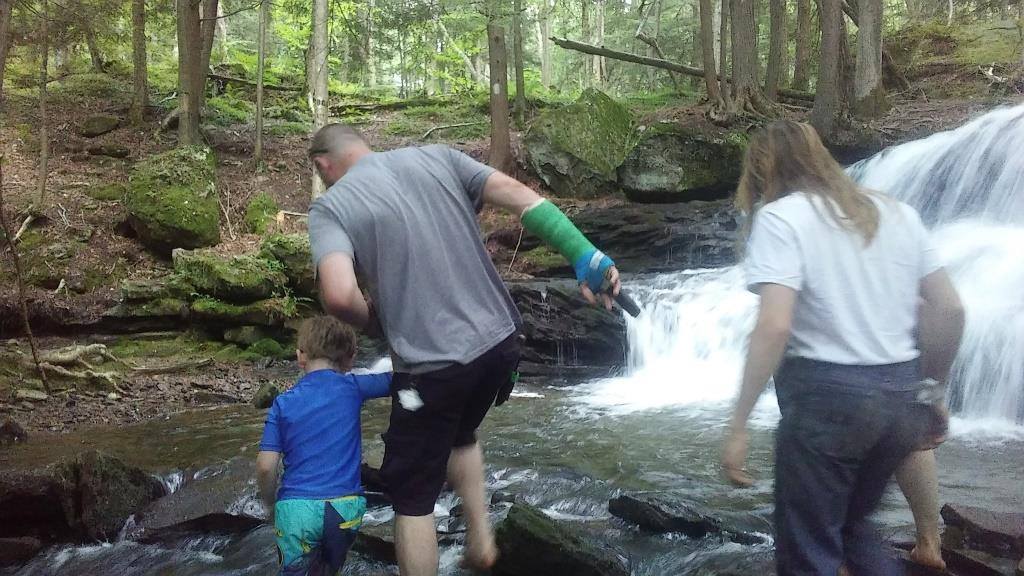
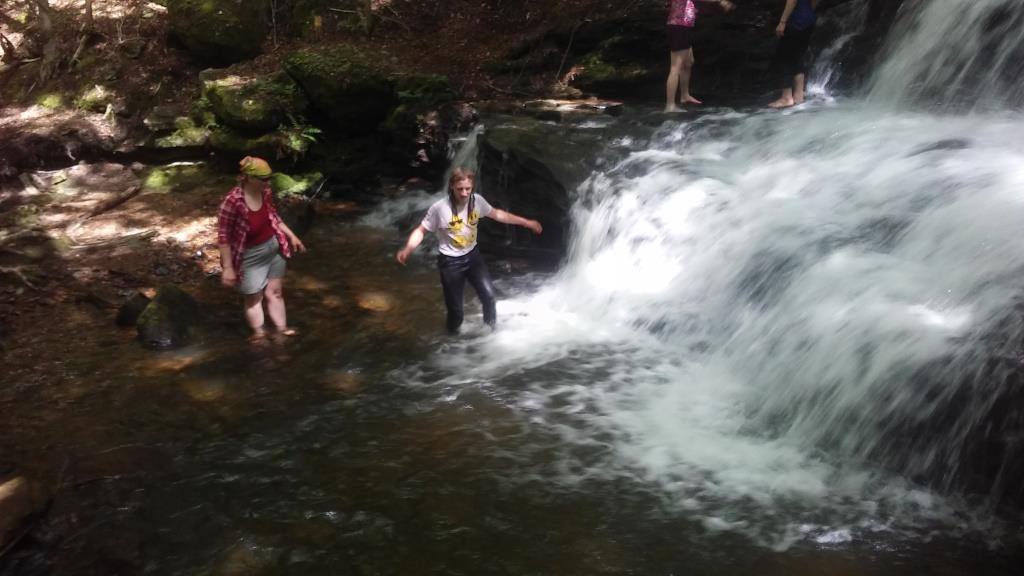
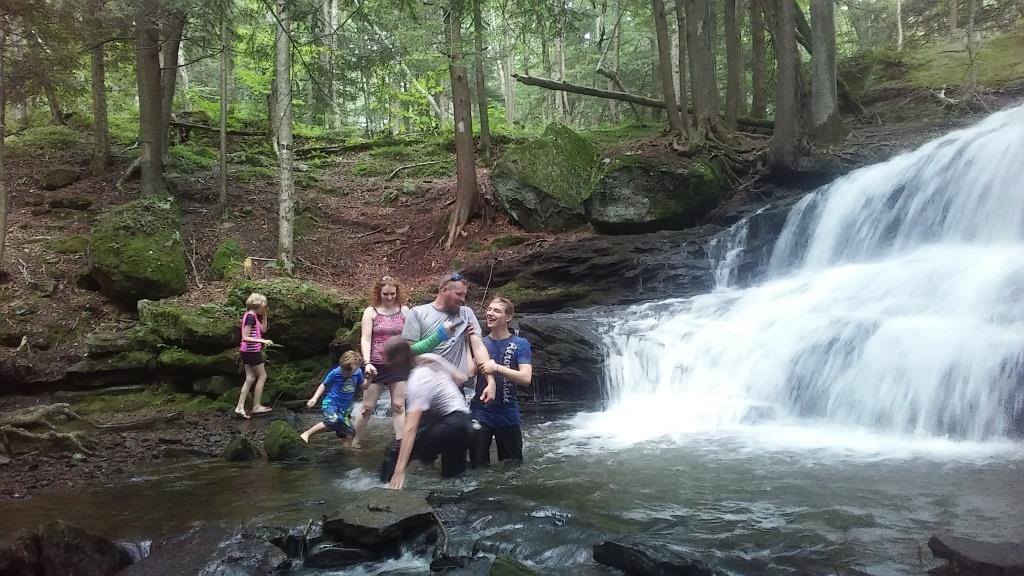
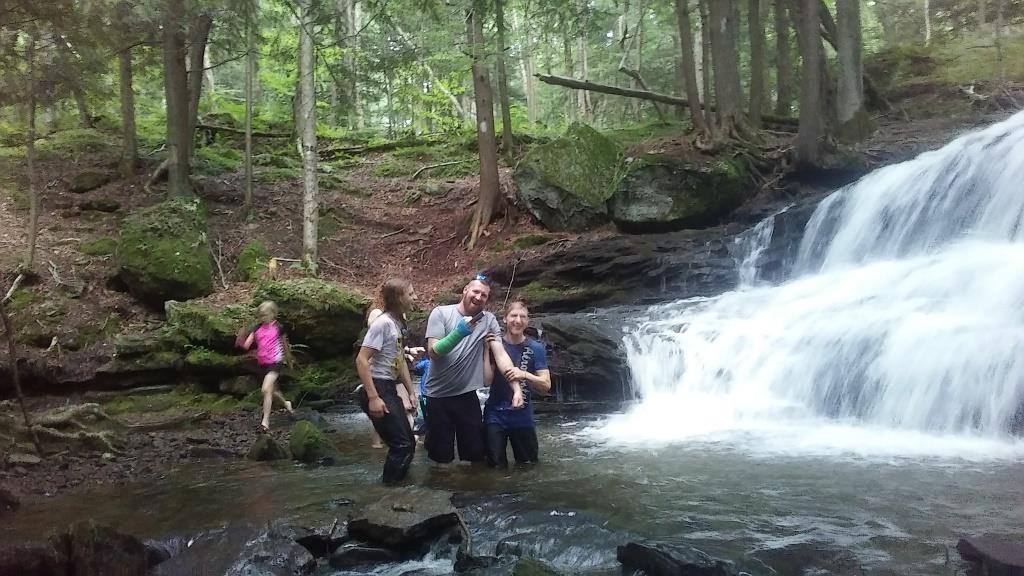
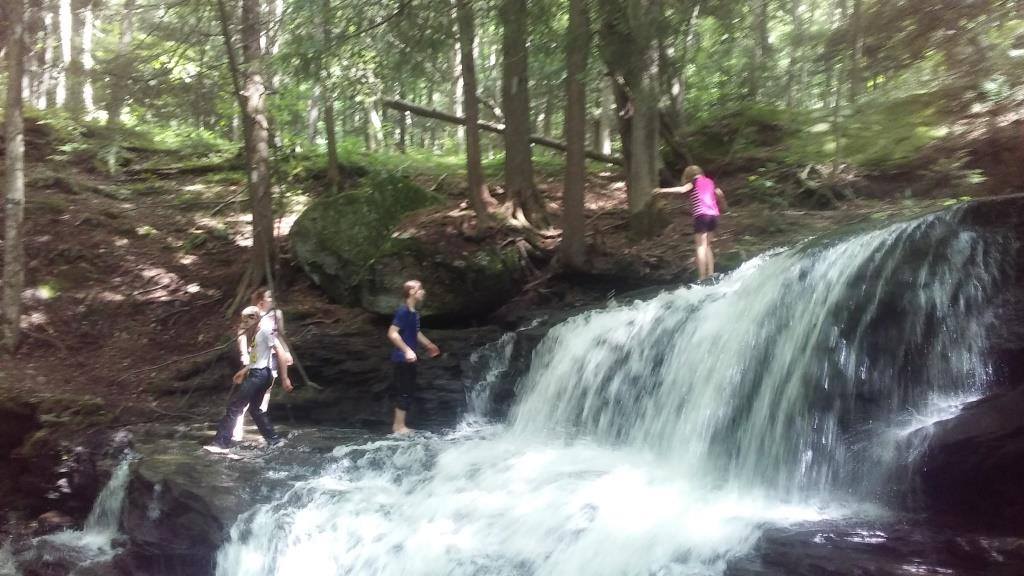
Logan Falls, located deep within the Allegheny National Forest along Logan Run, is a modest yet picturesque 12-foot waterfall. While it isn’t particularly tall, the secluded woodland setting and the unique shape of the falls make it a truly beautiful spot. You can find Logan Falls at these coordinates: 41.588400, -79.158317.
While the trail seems to continue downstream from Logan Falls, a quick glance at a topographic map suggested there were no additional waterfalls, so I didn’t venture further. However, I’m sure the creek offers scenic beauty in its final stretch before joining Tionesta Creek.
Though Logan Falls requires some effort to reach and isn’t very tall, it is undoubtedly one of the most stunning spots in the Allegheny National Forest—a destination you won’t regret visiting. The falls are easiest to access from Marienville, but they can also be reached from Route 666 to the north. I’ve only ever approached it via North Forest Road to Coal Bed Run Road, which is manageable in a standard car without four-wheel drive.
As always, conditions can change, so use your best judgment when deciding to make the journey to Logan Falls, as this area is quite remote.